
There’s something magical about a spoonful of fresh, fluffy whipped cream. It transforms a simple dessert into something special — whether it’s topping a slice of pie, spooned over hot chocolate, or layered into a cake. But the secret to that perfectly airy texture and subtle sweetness lies in a few simple techniques that anyone can master.
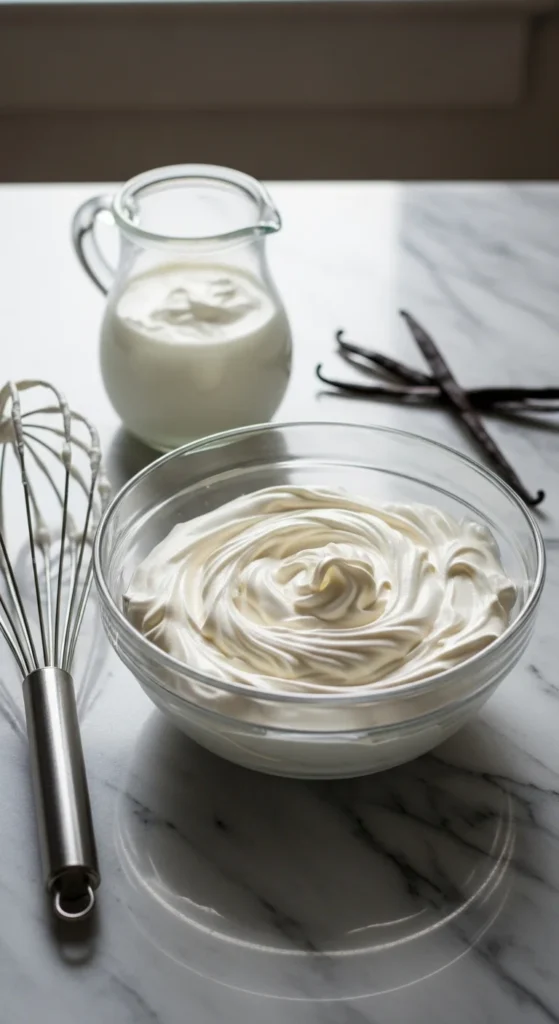
In this guide, you’ll learn how to make whipped cream that’s light, stable, and utterly delicious — every single time.
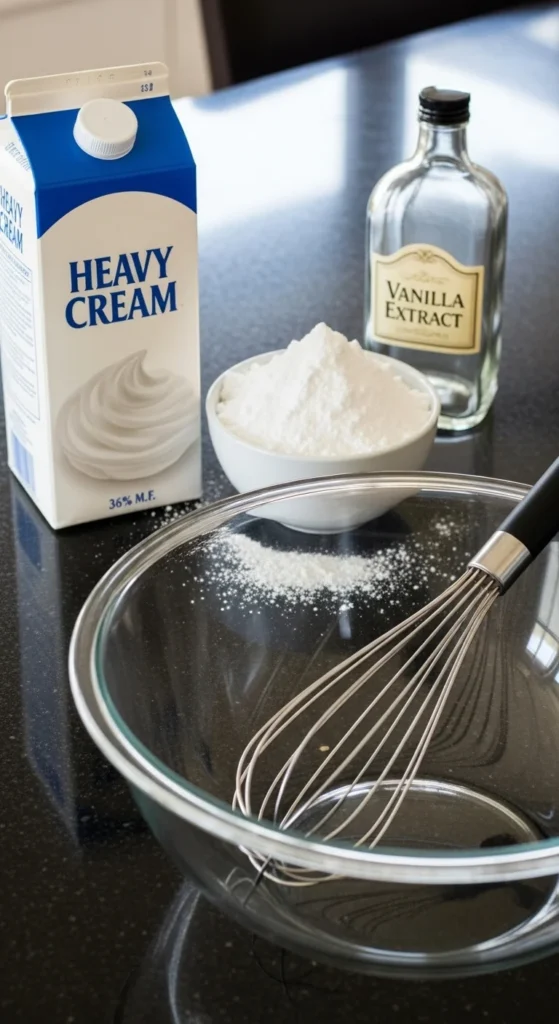
What You’ll Need
Before you dive in, make sure you’ve got the essentials ready. The best whipped cream starts with quality ingredients and cold tools.
Ingredients:
- 1 cup (240 ml) heavy whipping cream (at least 35% fat)
- 2–3 tablespoons powdered sugar (adjust to taste)
- 1 teaspoon pure vanilla extract (optional but recommended)
Tools:
- Large mixing bowl (metal or glass works best)
- Hand mixer or stand mixer (you can also whisk by hand for a workout!)
- Spatula
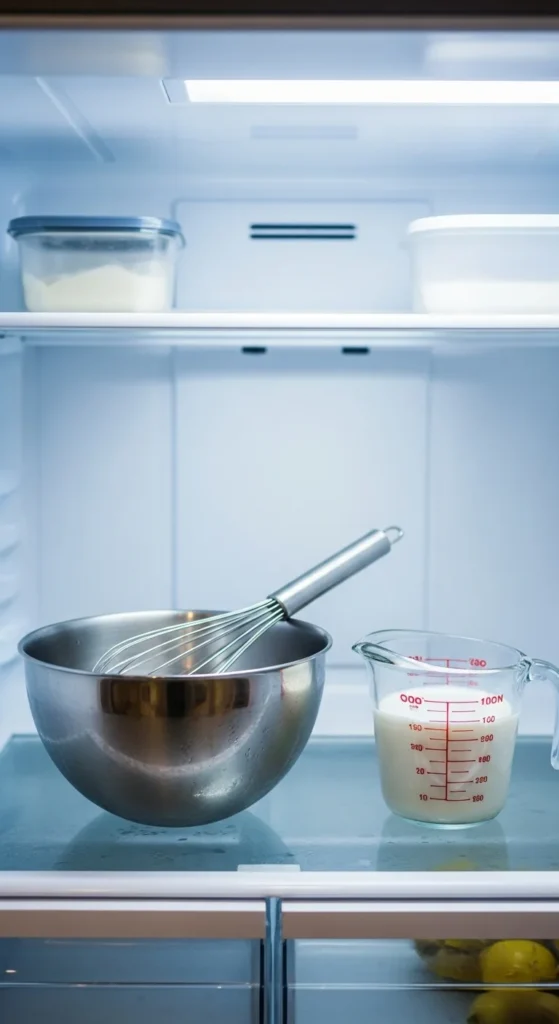
Step 1: Chill Everything
Temperature makes or breaks whipped cream. Cold cream whips faster and holds its structure better.
Here’s what to do:
- Chill your mixing bowl and beaters in the fridge or freezer for about 15 minutes.
- Keep the heavy cream refrigerated until just before using.
Pro Tip: If your kitchen is warm, you can even place your bowl over another bowl filled with ice while whipping to keep it extra cold.
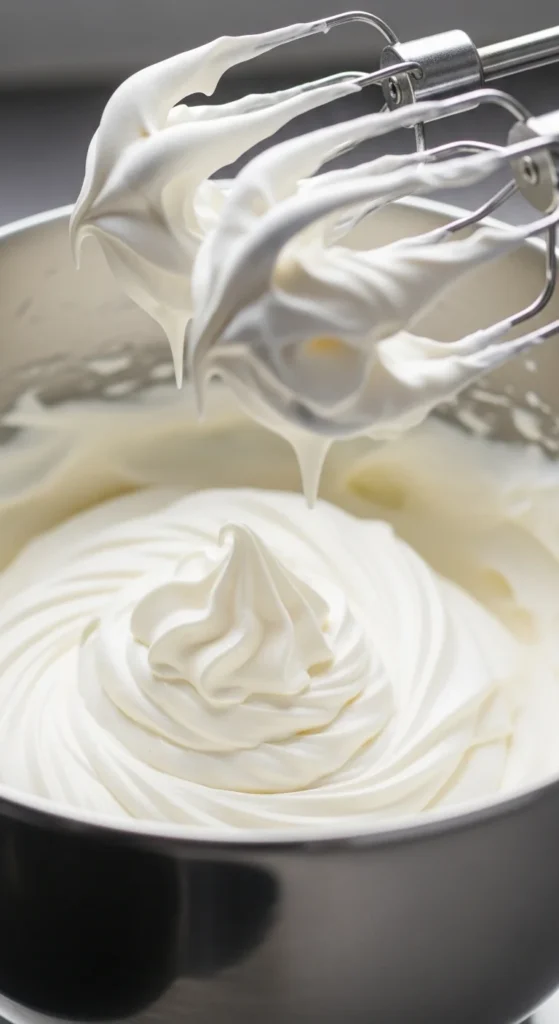
Step 2: Start Whipping Slowly
Pour the cold heavy cream into your chilled bowl. Begin whipping on medium speed until it starts to thicken slightly — about 1–2 minutes.
At this stage, the cream will still be liquidy, but you’ll notice small bubbles forming and the texture becoming frothy.
Then, add your powdered sugar and vanilla extract. Continue mixing.
Pro Tip: Don’t rush this step! Starting slow helps build stable air bubbles for a smoother, fluffier texture later.
Step 3: Watch for Soft Peaks
As you continue mixing, you’ll reach the soft peaks stage — when the cream starts to hold its shape but gently folds over when you lift the whisk.
This is the perfect consistency for:
- Dolloping over fruit or pancakes
- Folding into mousse or trifles
- Layering in cakes
If you’re unsure, stop and check frequently — overwhipping is the most common mistake!
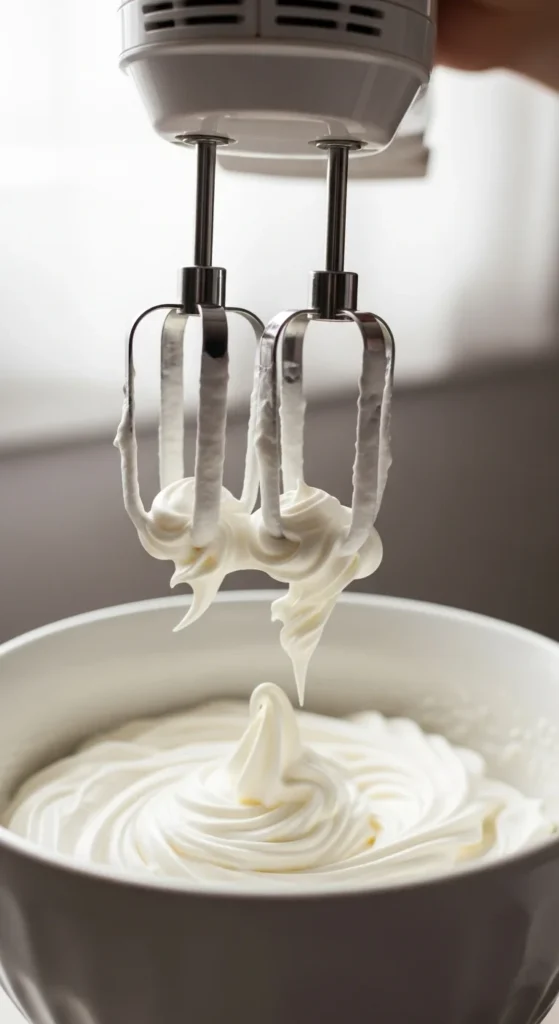
Step 4: Stop at Stiff Peaks (If Needed)
For topping desserts like pies or piping onto cupcakes, you might prefer stiff peaks.
This is when the cream holds firm peaks that stand straight up without drooping. But be careful — go just a few seconds too long, and you’ll end up with grainy, butter-like cream.
Fixing overwhipped cream:
- If it starts looking grainy, add 1 tablespoon of unwhipped cream and gently fold it in to restore smoothness.
Step 5: How to Flavor or Stabilize It
Want to take your whipped cream to the next level? Try these easy add-ins and stabilizers:
Flavor ideas:
- Cocoa powder for chocolate whipped cream
- Cinnamon or nutmeg for holiday desserts
- Lemon or almond extract for a twist
To make it stable for longer storage:
- Add 1 tablespoon of instant pudding mix or 1 teaspoon of cornstarch before whipping.
- Or use mascarpone cheese for a rich, firm version perfect for frosting cakes.

Step 6: Serve or Store
Use your freshly whipped cream right away for the best texture and flavor. If you need to make it ahead:
- Store in the fridge for up to 24 hours in an airtight container.
- Re-whip briefly if it starts to deflate.
Quick Troubleshooting
| Problem | Cause | Solution |
| Cream won’t thicken | Cream too warm or low-fat | Chill it and use heavy cream (35% fat or more) |
| Turns grainy or clumpy | Overwhipped | Add a little unwhipped cream and fold gently |
| Lacks sweetness | Not enough sugar | Add powdered sugar and rewhip lightly |
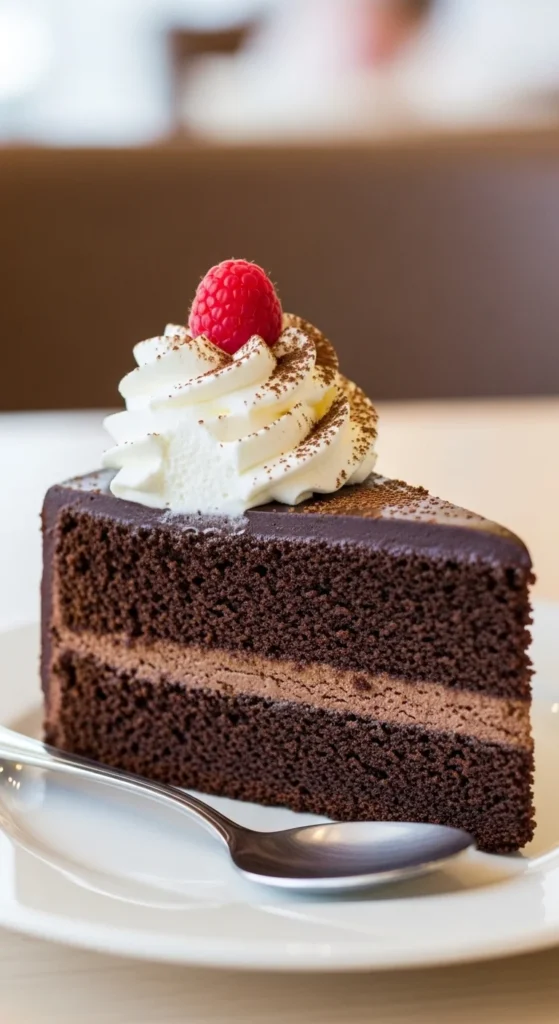
Final Touch: Presentation Matters
Whipped cream looks even more inviting when piped with a star tip or spooned into a decorative swirl. Add a sprinkle of cocoa powder, cinnamon, or chocolate shavings for a professional touch.

Leave a Reply