
There’s nothing quite like the glossy shine and perfect snap of properly tempered chocolate. Whether you’re dipping strawberries, coating truffles, or baking elegant desserts, tempering is the secret to achieving professional-looking (and tasting!) chocolate treats. But don’t worry—it’s not as intimidating as it sounds. With a few simple techniques, you can master the art of tempering right in your kitchen.
What Is Chocolate Tempering?
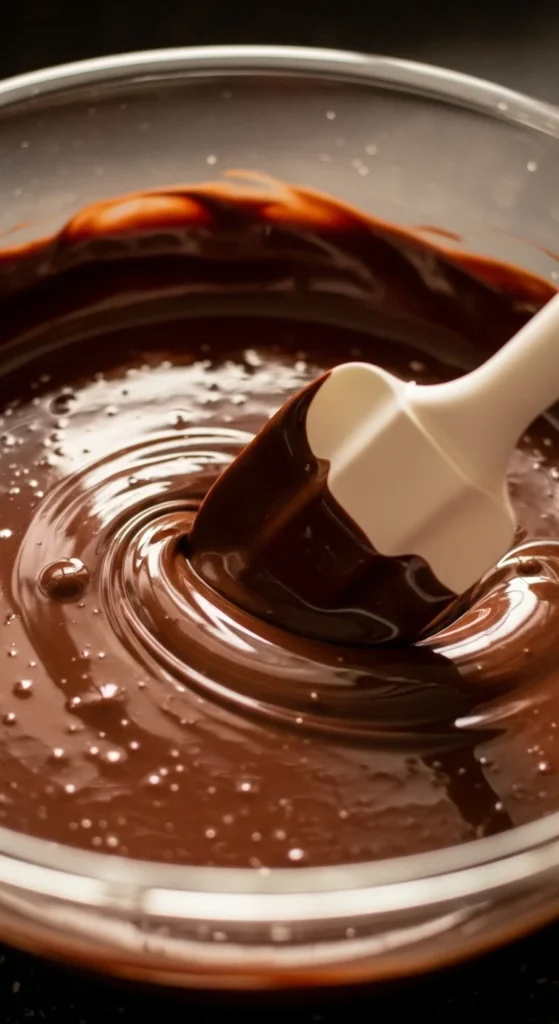
Tempering chocolate is the process of heating and cooling chocolate to specific temperatures so that the cocoa butter crystals stabilize. This creates that irresistible shine, crisp texture, and satisfying “snap” when you break or bite into it.
If you skip tempering, your chocolate may turn dull or streaky with a grainy texture—still tasty, but not bakery-beautiful!
Tempered chocolate = shine, snap, and smoothness.
Un-tempered chocolate = dull, streaky, and soft.
What You’ll Need
Tempering requires just a few tools and ingredients—but precision is key.
Ingredients:
- High-quality chocolate (dark, milk, or white)
- Optional: small amount of untempered chocolate (for seeding)
Tools:
- Digital kitchen thermometer
- Heatproof glass or stainless-steel bowl
- Saucepan or microwave
- Silicone spatula
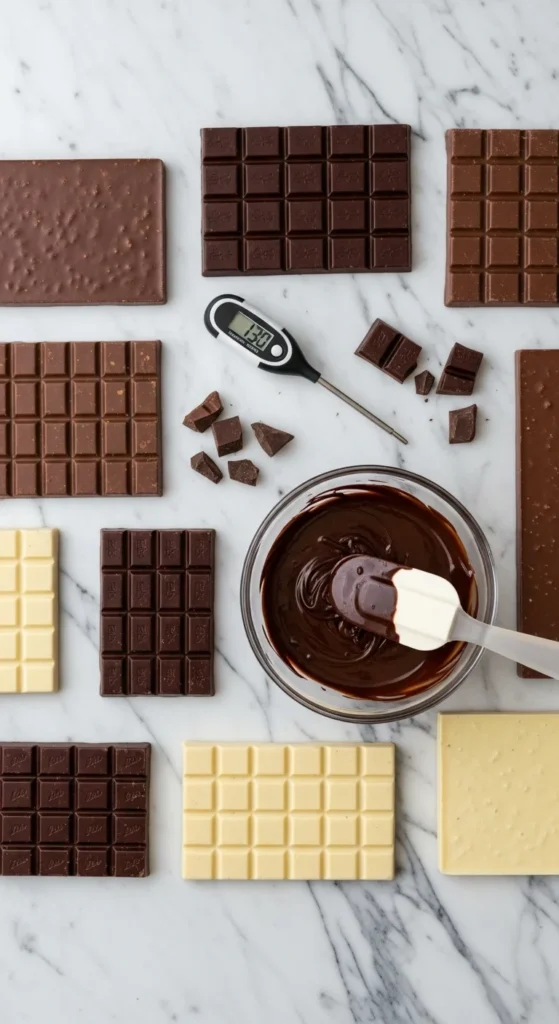
Step 1: Chop and Melt the Chocolate
Finely chop your chocolate—it helps it melt evenly and quickly without burning.
There are two main melting methods:
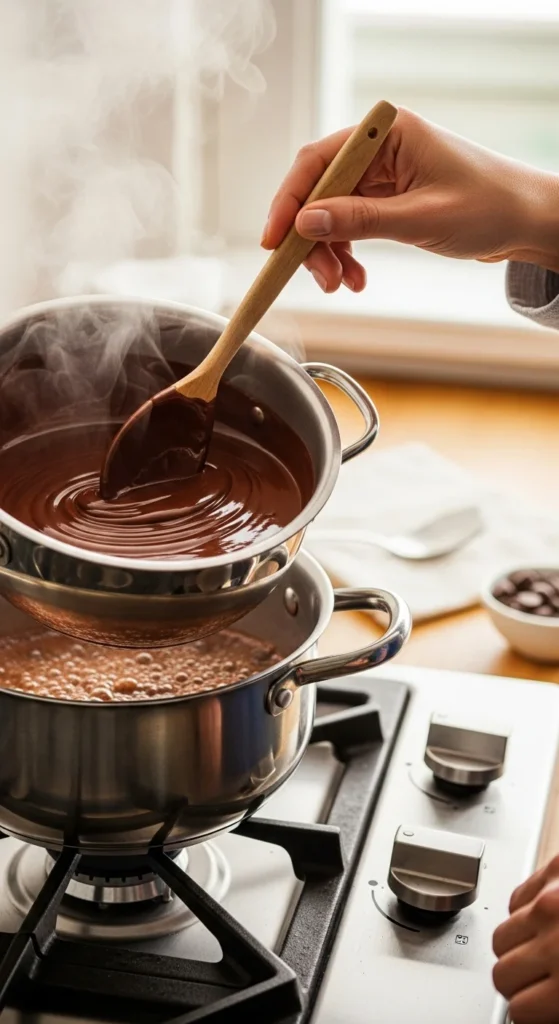
- Double Boiler Method:
- Fill a saucepan with an inch of water and bring it to a gentle simmer.
- Place your heatproof bowl on top (make sure it doesn’t touch the water).
- Stir the chocolate constantly as it melts.
- Fill a saucepan with an inch of water and bring it to a gentle simmer.
- Microwave Method:
- Heat chocolate in short 20–30 second bursts, stirring between each interval.
- Stop when it’s mostly melted; the residual heat will melt the rest.
- Heat chocolate in short 20–30 second bursts, stirring between each interval.
Step 2: Cool the Chocolate
Once your chocolate has melted, you’ll need to cool it to the proper working temperature so it forms stable cocoa butter crystals.
Target temperatures:
- Dark chocolate: cool to 82°F (28°C)
- Milk chocolate: cool to 80°F (27°C)
- White chocolate: cool to 78°F (26°C)
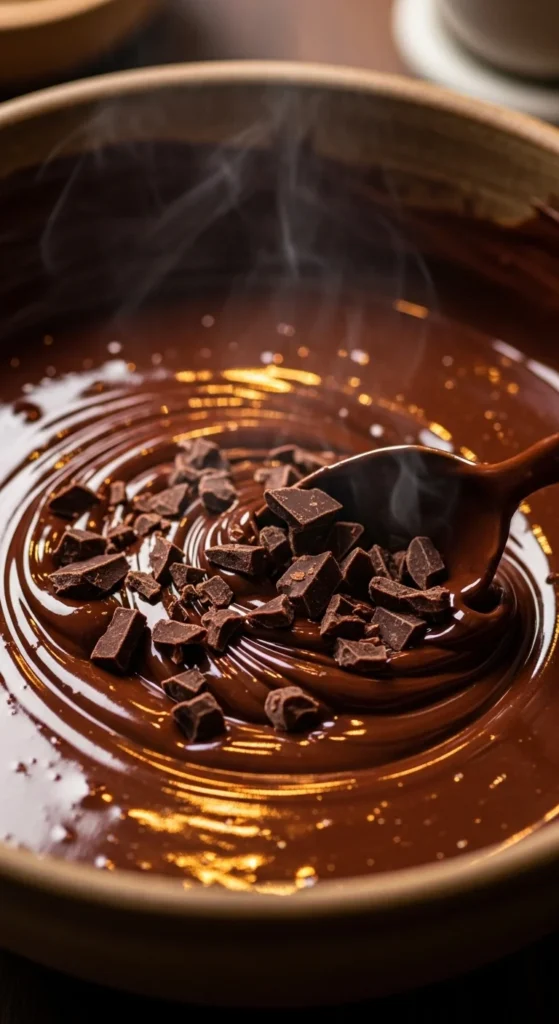
Pro tip: To speed up cooling, you can add finely chopped unmelted chocolate (called “seeding”) and stir until it’s smooth.
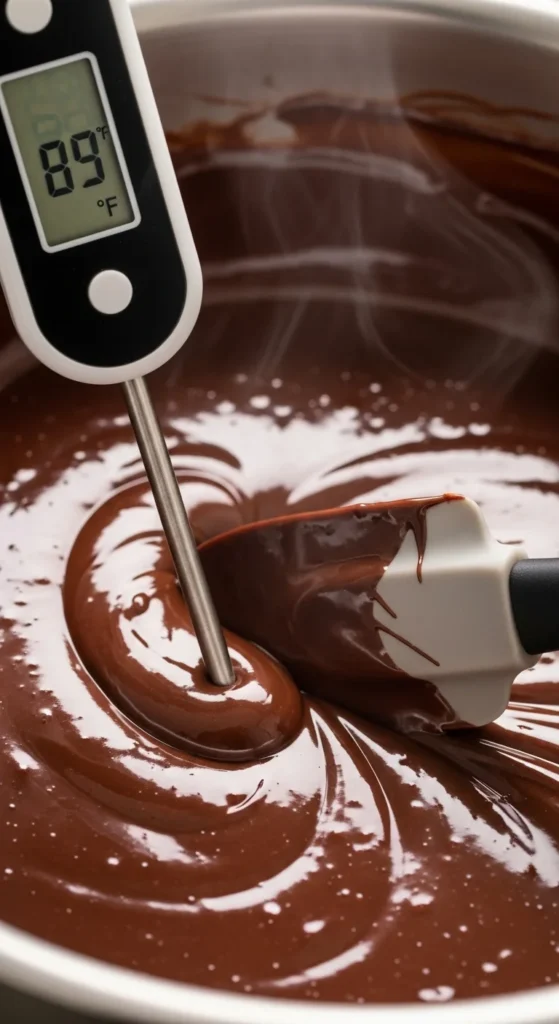
Step 3: Reheat Slightly
Now it’s time to bring your chocolate back up to its working temperature so it’s fluid enough to use while staying tempered.
Reheat gently:
- Dark chocolate: 88–90°F (31–32°C)
- Milk chocolate: 86–88°F (30–31°C)
- White chocolate: 82–84°F (28–29°C)
Avoid overheating—it will ruin the temper and you’ll have to start over.
Once at the right temperature, your chocolate is ready for dipping, coating, or molding!
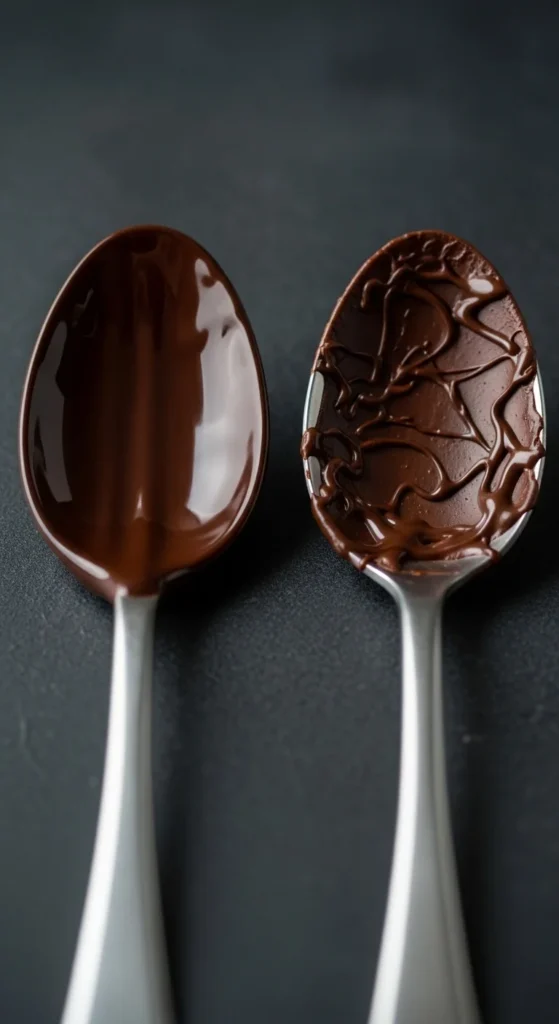
Step 4: Test the Temper
Before using all your chocolate, do a quick test to make sure it’s perfectly tempered.
- Dip a spoon or knife tip into the chocolate.
- Set it aside for 3–5 minutes at room temperature.
- If it hardens with a glossy finish and firm texture—it’s perfectly tempered!
- If it looks dull or soft, reheat slightly and try again.
- If it looks dull or soft, reheat slightly and try again.
Troubleshooting Tips
Even seasoned bakers sometimes struggle with tempering, but here’s how to fix common issues:
- Dull finish? Chocolate was too hot or cooled too slowly.
- Streaky appearance? Uneven crystal formation—stir more during cooling.
- Thick texture? Over-seeded or overheated. Gently rewarm and stir.
Quick fix: If you’re short on time, you can skip tempering and use compound chocolate or candy melts—they don’t require tempering!
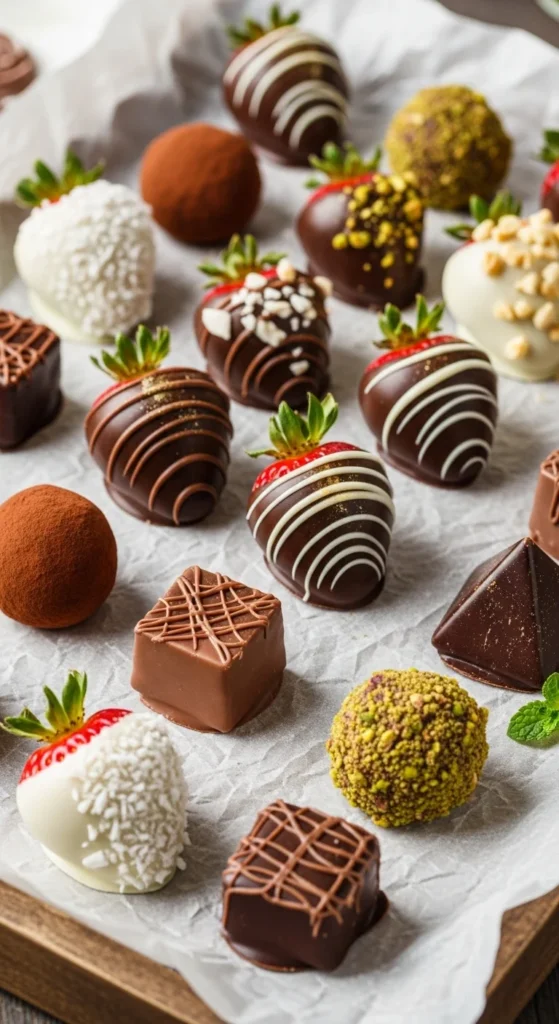
How to Use Tempered Chocolate
Once you’ve nailed the temper, it’s time to have fun! Tempered chocolate can be used to:
- Coat truffles or candies for a crisp outer shell.
- Dip fruits or cookies for glossy dessert platters.
- Make chocolate decorations like curls, shards, or molds for cakes.
- Drizzle over desserts for a bakery-quality finish.
Final Takeaway
Tempering chocolate may sound fancy, but with a little patience and a good thermometer, anyone can do it! Once you master it, your desserts will look as amazing as they taste.
So go ahead—grab some quality chocolate and start practicing this delicious kitchen skill today.
Save this guide for later so you can always come back to it when your next chocolate craving strikes! 🍫✨

Leave a Reply