
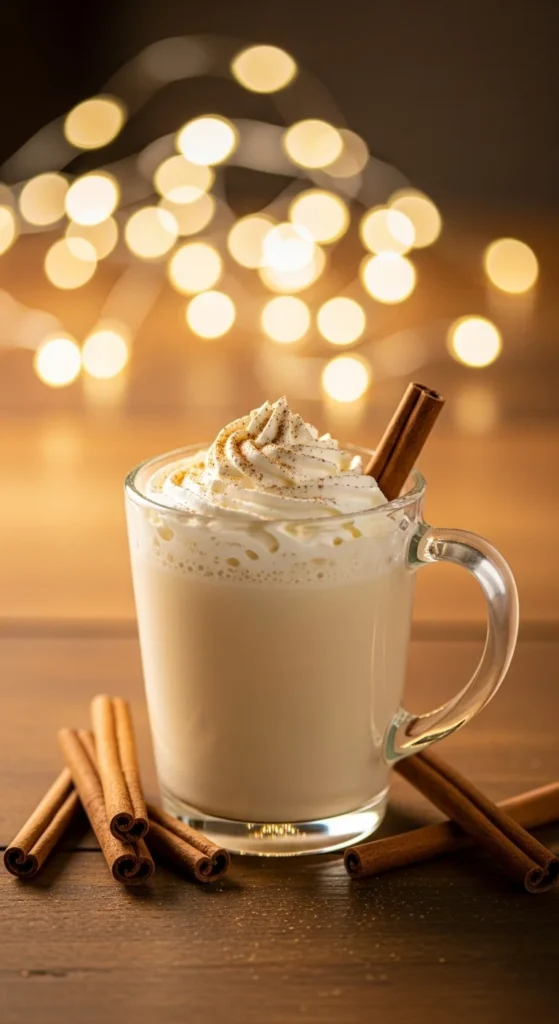
Nothing says “holiday season” quite like a creamy cup of homemade eggnog. Whether you’re sipping it by the fire or serving it at your holiday party, this classic drink adds instant cheer. The best part? You don’t need store-bought mixes — making it from scratch is surprisingly easy and oh-so-rewarding.
What You’ll Need: The Key Ingredients
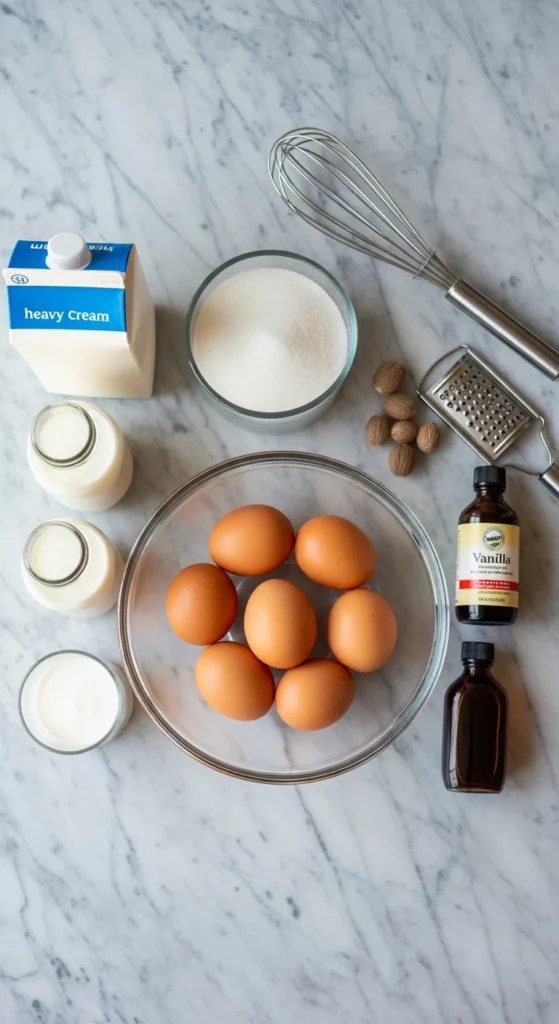
Eggnog has a short list of ingredients, but each one plays a big role in its rich, velvety flavor.
Ingredients:
- 4 large eggs
- ¾ cup granulated sugar
- 2 cups whole milk
- 1 cup heavy cream
- ½ teaspoon ground nutmeg (plus more for garnish)
- 1 teaspoon vanilla extract
- Optional: ½ cup rum, bourbon, or brandy for a grown-up twist
Tip: Use fresh, high-quality eggs and real vanilla extract for the best taste — the difference is noticeable.
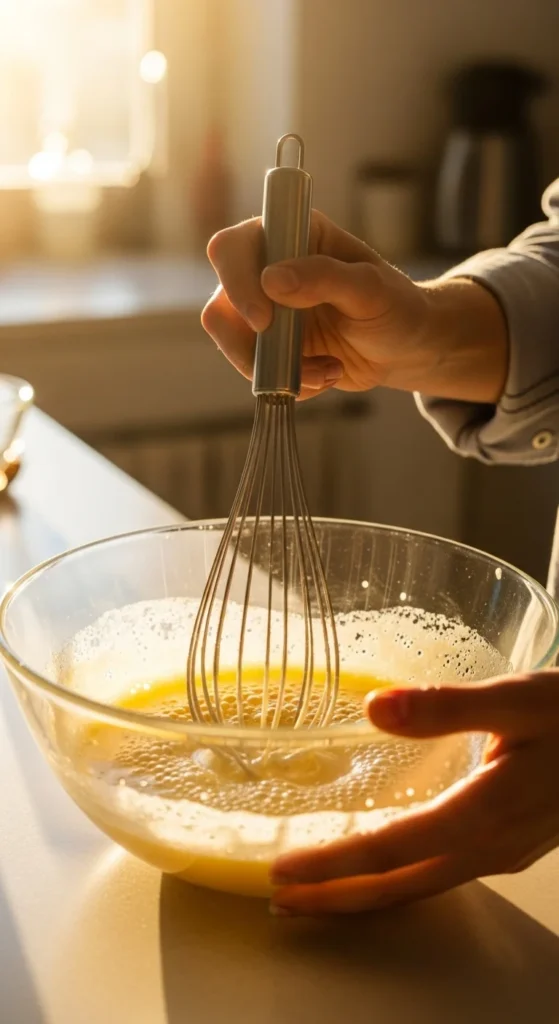
Step 1: Whisk the Eggs and Sugar
In a medium mixing bowl, whisk together the eggs and sugar until the mixture becomes light, pale, and slightly frothy. This step ensures your eggnog will be smooth rather than grainy.
Pro Tip: Whisking by hand works fine, but if you have a hand mixer, use it on low speed for about 2 minutes to get that perfect texture.
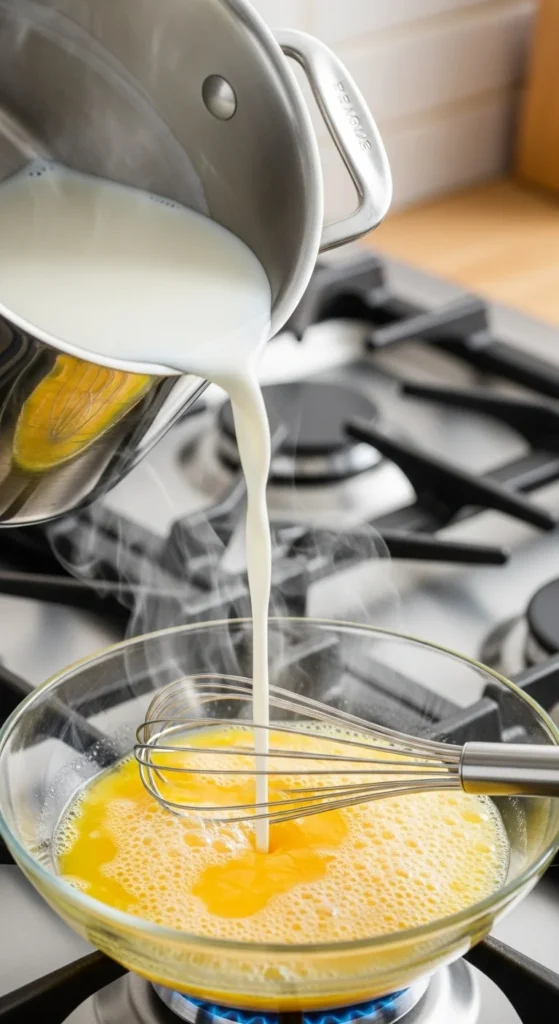
Step 2: Heat the Milk and Combine
Pour the milk into a saucepan and warm it gently over medium heat. Don’t boil it — just heat until you see small bubbles forming around the edges.
Slowly pour the hot milk into the egg mixture while whisking constantly. This step is crucial to avoid curdling — think of it as gently introducing the eggs to the heat.
Tip: Pour in the milk gradually (a few tablespoons at first), whisking as you go.
Step 3: Cook and Thicken
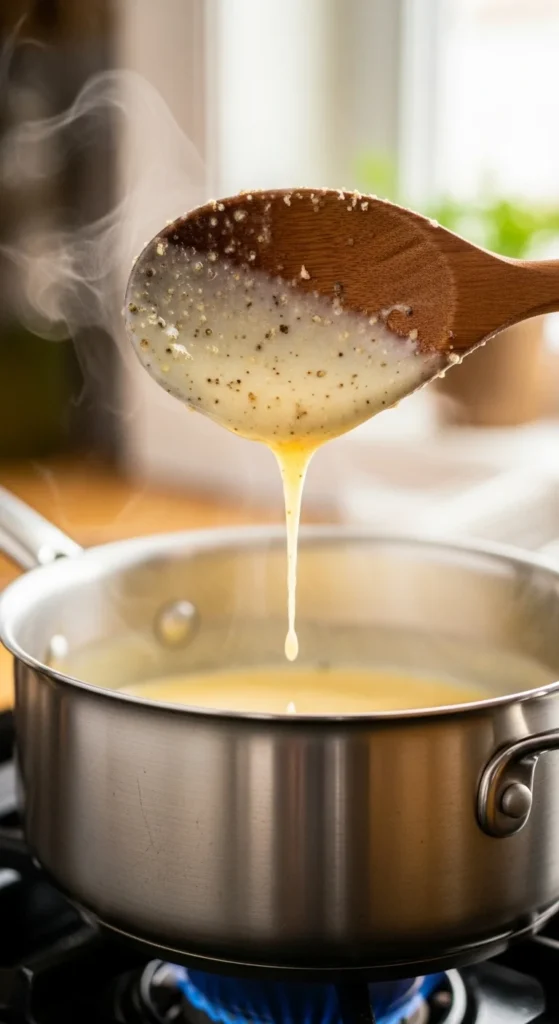
Once combined, pour the mixture back into the saucepan and cook it over low heat. Stir constantly with a wooden spoon until the eggnog slightly thickens — about 5 to 7 minutes.
You’ll know it’s ready when it coats the back of your spoon. Don’t let it boil; otherwise, the eggs may scramble.
Remove from heat and stir in:
- Heavy cream
- Vanilla extract
- Ground nutmeg
Let it cool for about 10–15 minutes.
Step 4: Chill and Serve
Pour your eggnog into a pitcher or jar and refrigerate for at least 2 hours (or overnight for the richest flavor).
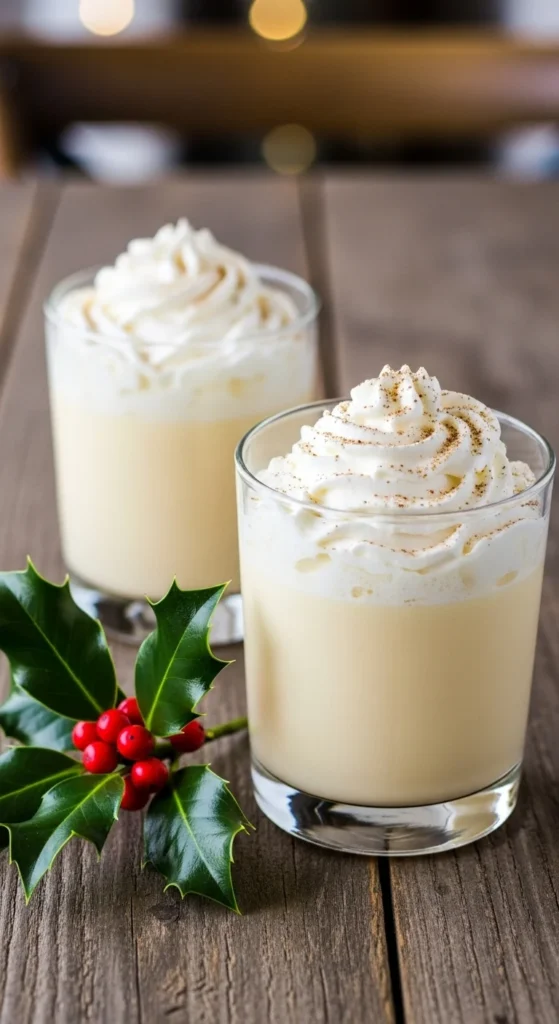
When you’re ready to serve, give it a good stir. If you’re adding alcohol, now’s the time to mix it in. Pour into mugs or glasses, top with whipped cream, and sprinkle a little nutmeg on top.
Bonus Tips for the Perfect Eggnog
- Make it thicker: Add a bit more heavy cream.
- Make it lighter: Substitute half the milk with almond or oat milk.
- For extra flavor: Add a cinnamon stick while heating the milk.
- For safety: If you’re concerned about raw eggs, use pasteurized eggs or cook the mixture to 160°F (use a kitchen thermometer).
Step 5: Garnish Like a Pro
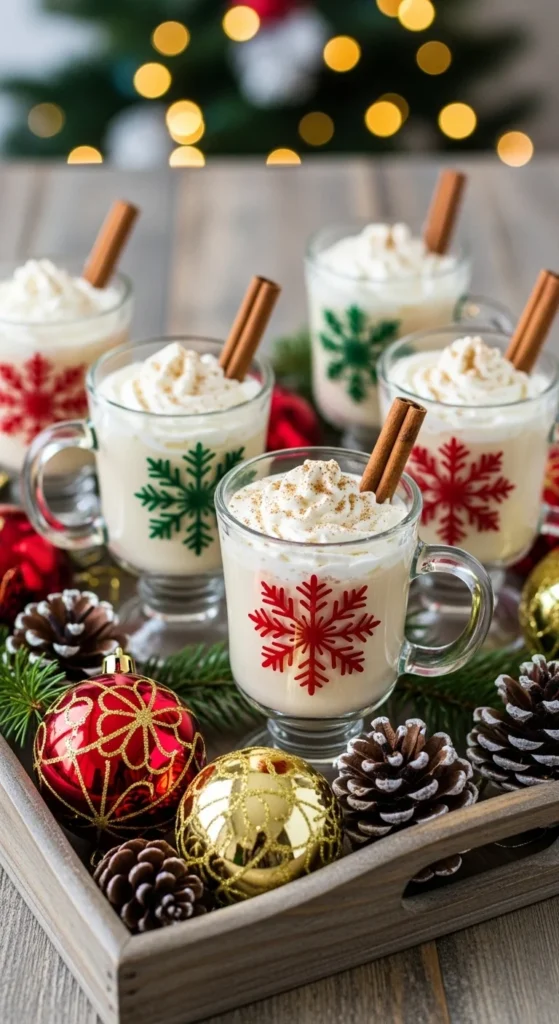
Presentation makes your eggnog extra special. Try these festive touches:
- Sprinkle cinnamon or nutmeg on top.
- Add a cinnamon stick as a stirrer.
- Dust the rim of your glass with sugar for a sparkling finish.
Final Sip: The Holiday Cheer in a Glass
Homemade eggnog is creamy, comforting, and customizable — the ultimate drink for cozy winter nights. Once you try this from-scratch version, you’ll never go back to store-bought.
So grab your whisk, pour yourself a glass, and toast to the holidays! 🎄
Save this recipe for later — your future self (and guests) will thank you!

Leave a Reply