
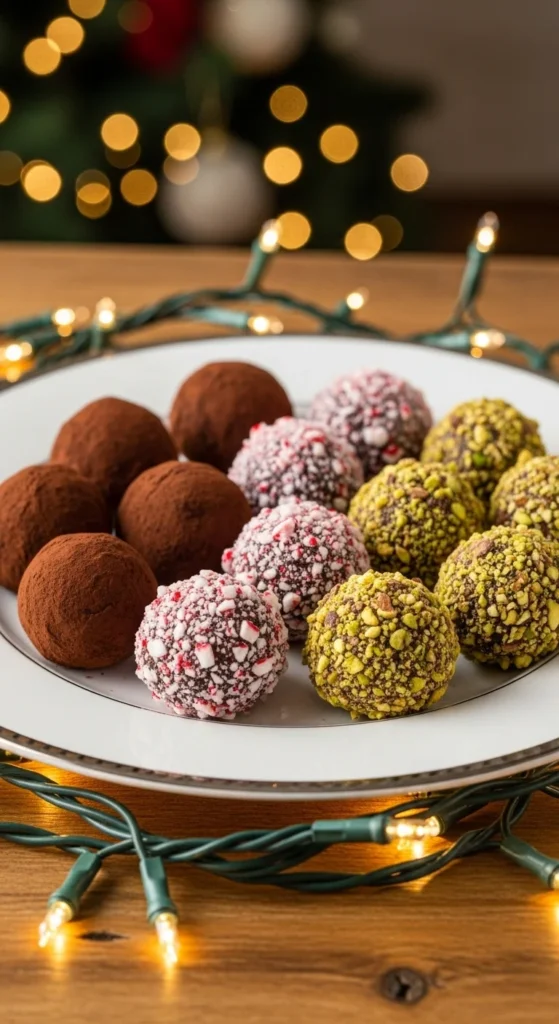
There’s something magical about bite-sized holiday truffles. They’re rich, creamy, and melt-in-your-mouth delicious — the kind of treat that instantly makes your dessert table sparkle. Whether you’re gifting them, serving at a party, or just treating yourself, these homemade truffles will steal the show with minimal effort.
Step 1: Gather Your Ingredients
Making truffles is simpler than you might think. All you need are a few pantry staples to create that luxurious, chocolatey texture everyone loves.
You’ll Need:
- 8 oz (225 g) semi-sweet or dark chocolate, finely chopped
- ½ cup (120 ml) heavy cream
- 1 tbsp butter (optional, for extra creaminess)
- Flavorings: a splash of vanilla extract, peppermint, or orange zest
- Coatings: cocoa powder, shredded coconut, chopped nuts, or sprinkles
💡 Pro Tip: The better the chocolate, the better your truffles will taste. Go for a high-quality bar instead of chocolate chips.

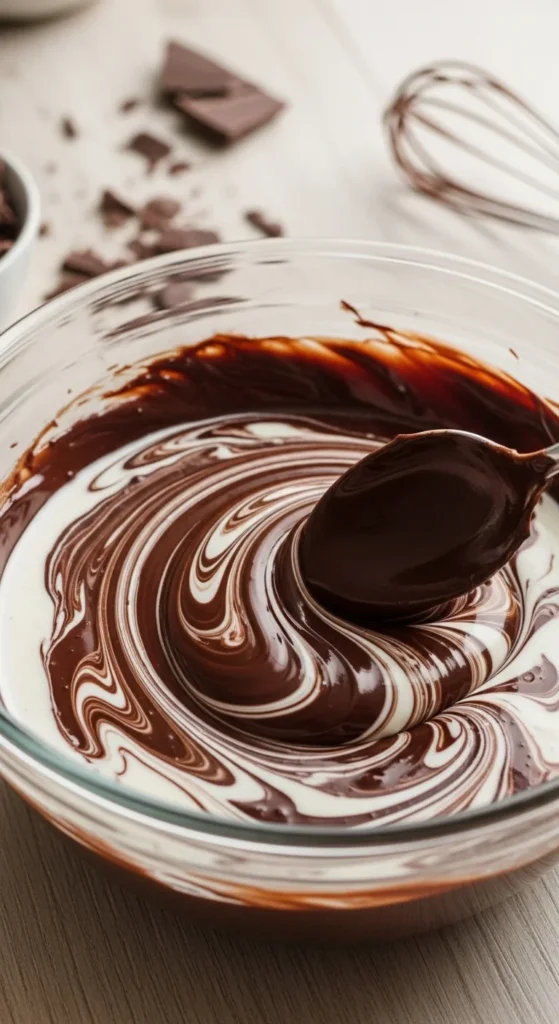
Step 2: Make the Ganache
This step is where the truffle magic begins! The ganache is your base — silky, rich, and deeply flavorful.
- Heat the cream in a small saucepan until it just starts to simmer. Don’t let it boil.
- Pour the hot cream over the chopped chocolate in a heatproof bowl.
- Let it sit for about a minute, then stir gently until the chocolate melts and the mixture is smooth.
- Stir in the butter and any flavorings like vanilla or peppermint extract.
Once everything is silky smooth, cover the bowl and refrigerate for 1–2 hours until the ganache is firm enough to scoop.
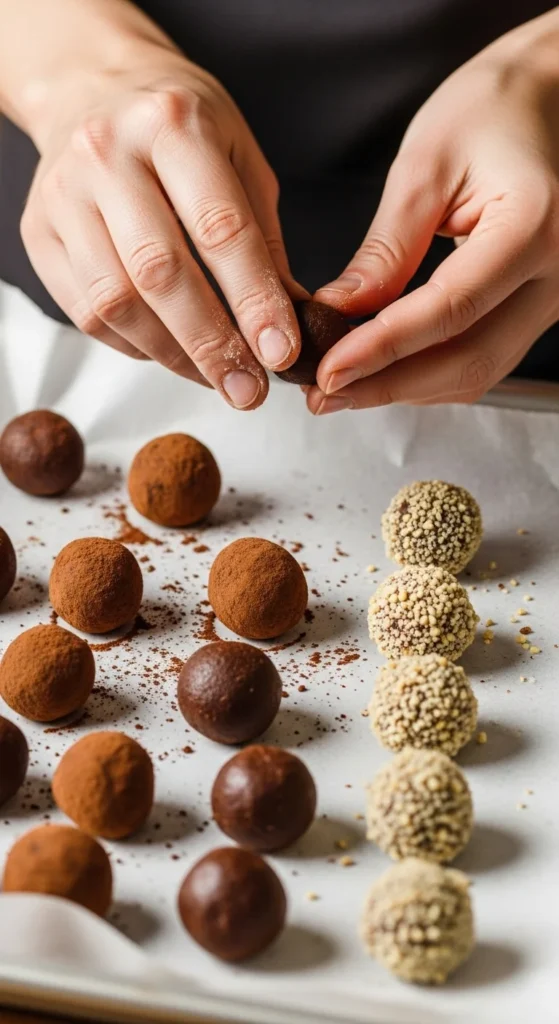
Step 3: Shape the Truffles
Now comes the fun (and slightly messy) part — rolling!
- Use a small spoon or a melon baller to scoop the chilled ganache.
- Roll it quickly between your palms to form small balls (about 1 inch wide).
- Place them on a parchment-lined tray.
💡 Tip: If your hands get sticky, dust them lightly with cocoa powder or chill the ganache for a few more minutes.
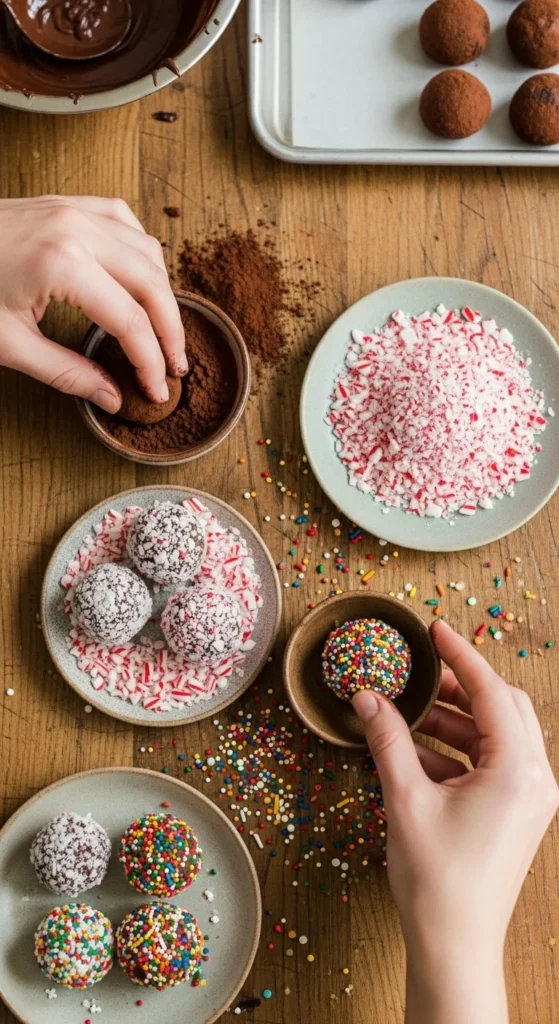
Step 4: Coat and Decorate
This is where your creativity shines! Each truffle can have its own festive personality.
Try these coating ideas:
- Classic cocoa powder – for a sophisticated finish
- Crushed candy canes – for a peppermint crunch
- Finely chopped nuts – for texture and flavor
- Sprinkles or coconut flakes – for a colorful holiday touch
Simply roll each truffle in your chosen coating and return it to the tray. Chill again for 15–20 minutes to set.
Step 5: Store and Serve
Truffles can be stored in an airtight container in the fridge for up to two weeks. To serve, bring them to room temperature for that perfect creamy bite.
For gifting, place them in mini cupcake liners and pack them in festive boxes or jars. Add a ribbon and a handwritten tag for that personal touch.

Final Touch: Make It Your Holiday Tradition
Once you’ve made these once, you’ll want to make them every year. They’re quick, customizable, and absolutely decadent — a perfect addition to your festive celebrations.
So go ahead — whip up a batch, share them with friends, and enjoy the sweet taste of the holidays.
✨ Save this recipe for later and start your truffle tradition today!

Leave a Reply