
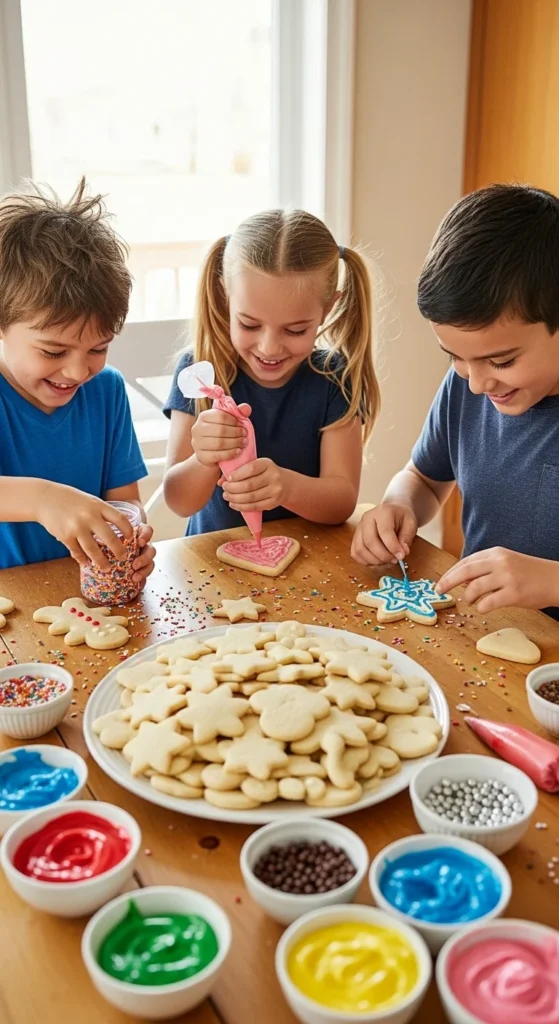
Decorating cookies with kids isn’t just about sugar and sprinkles—it’s about making sweet memories together! Whether you’re planning a cozy weekend activity or looking for a fun holiday tradition, cookie decorating can bring smiles, laughter, and a few messy hands along the way.
Gather Your Cookie Decorating Essentials
Before the fun begins, let’s set up your cookie decorating station. Keeping things organized will help the activity run smoothly (and minimize cleanup later).
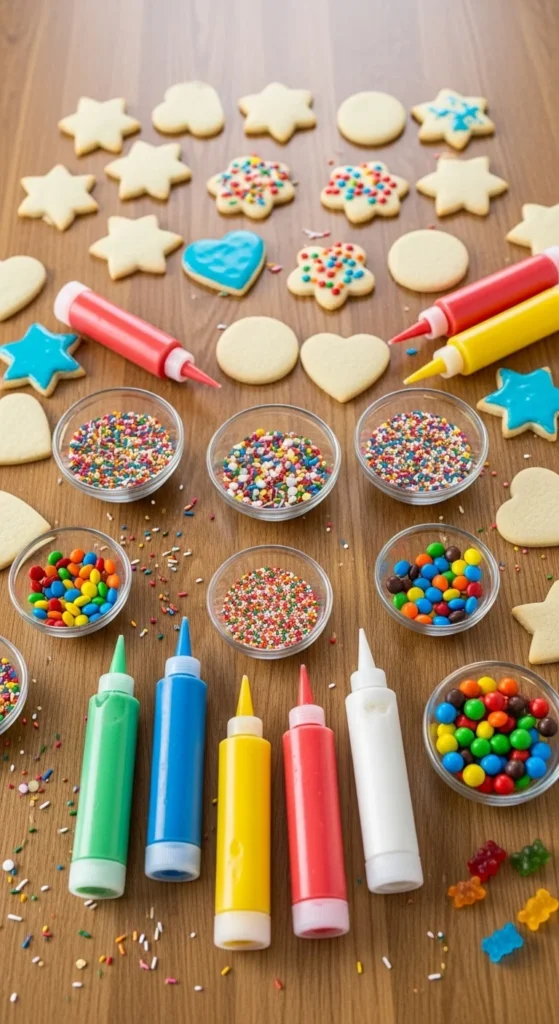
Here’s what you’ll need:
- Plain sugar cookies (store-bought or homemade)
- Icing in squeeze bottles or piping bags
- Sprinkles, candy pieces, and edible glitter
- Food coloring for fun color variations
- Plastic tablecloths or parchment paper for easy cleanup
- Aprons or old T-shirts to protect clothes
Tip: If you’re baking cookies from scratch, make them the day before to save time for decorating.
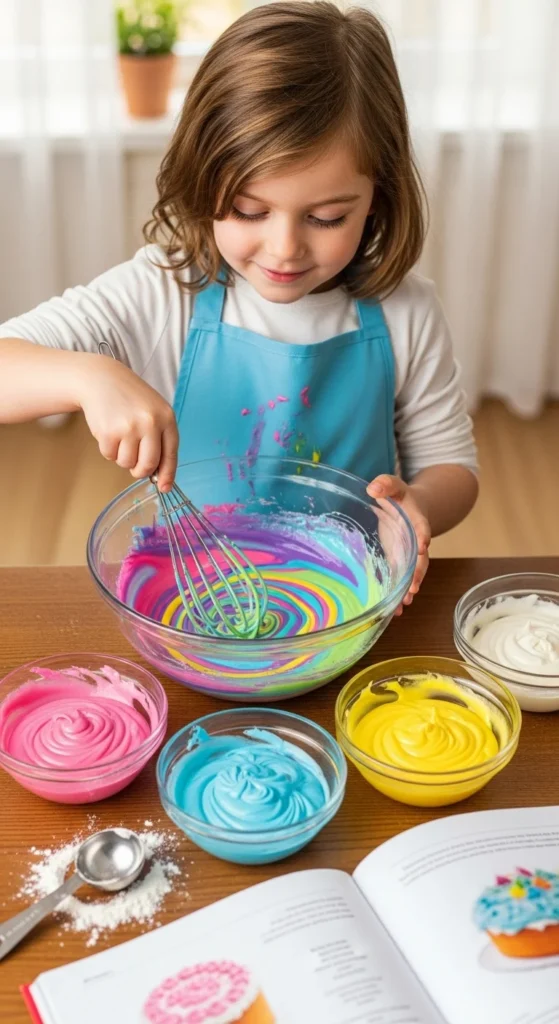
Step 1: Mix Up the Icing Colors
Kids love colors—so let them help you mix! Prepare a few small bowls of white royal icing, then stir in different food coloring drops to create rainbow hues.
- Start with classic colors like red, green, blue, and yellow.
- Encourage kids to invent their own “signature shade.”
- Use toothpicks to swirl multiple colors for a tie-dye effect.
Pro Tip: Add a few drops of lemon juice or vanilla extract for a pleasant aroma that keeps icing tasty.
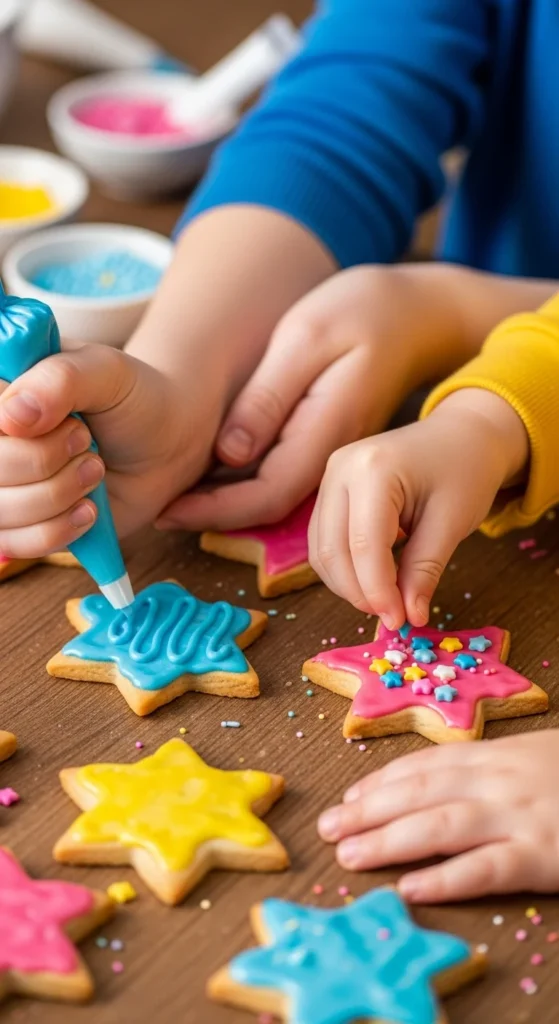
Step 2: Create the Cookie Canvas
Now it’s time for the fun part—decorating! Give each child a few cookies to decorate however they like. Show them how to:
- Outline the cookie first with thicker icing (this prevents drips).
- Fill in the center with thinner icing (called “flooding”).
- Add details using toothpicks, like stripes, dots, or zigzags.
Let creativity take over! There’s no “wrong” way to decorate—just plenty of fun, imagination, and laughter.
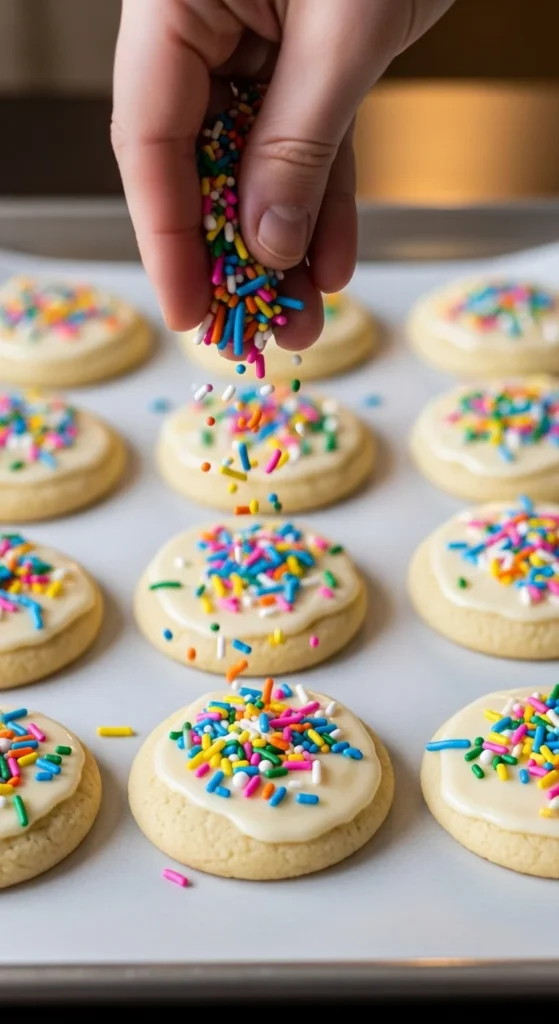
Step 3: Sprinkle Some Magic
No cookie is complete without sprinkles. This is every kid’s favorite part! Provide bowls of:
- Rainbow sprinkles
- Chocolate chips
- Crushed candy canes (for holidays)
- Edible glitter
Encourage kids to add their finishing touches right after icing while it’s still wet so everything sticks beautifully.
Step 4: Let Them Set and Display
Once your mini artists finish decorating, it’s time to let the cookies dry. Leave them on the counter for about an hour or place them in the fridge for a quicker set.
Meanwhile, make it a mini “cookie show” by arranging the finished creations on a festive platter.

Bonus Ideas for More Fun
Want to take your cookie decorating session up a notch? Try these ideas:
- Theme Day: Choose a fun theme like animals, emojis, or favorite characters.
- Decorating Contest: Have everyone vote for “most colorful,” “most creative,” or “most delicious-looking.”
- Gift Bags: Package the cookies in clear bags tied with ribbons for friends or teachers.
Sweet Memories That Last
Decorating cookies with kids isn’t about perfection—it’s about connection. You’ll laugh at the messy frosting, admire the tiny details, and maybe sneak a cookie or two together.
So next time you’re looking for a creative, joy-filled activity, grab some cookies, colorful icing, and your favorite little helpers.
✨ Save this cookie decorating idea for your next family baking day! ✨


Leave a Reply