
There’s something magical about the smell of freshly baked gingerbread, sugary icing, and a sprinkle of candy decorating your kitchen table. Building a gingerbread house isn’t just about crafting a cute holiday decoration — it’s a joyful tradition filled with creativity, laughter, and a touch of sweet chaos! Whether you’re baking with kids, hosting a holiday party, or simply enjoying a cozy weekend project, this guide will help you create the perfect gingerbread house from start to finish.

Step 1: Gather Your Ingredients and Tools
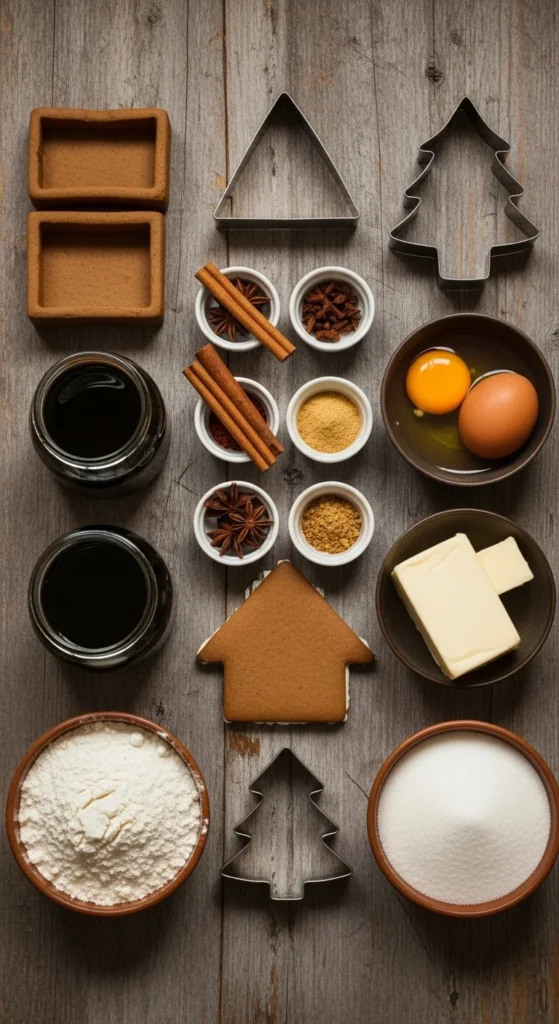
Before you dive into construction, let’s get your baking station ready. You’ll need both ingredients for the dough and tools for assembly.
Ingredients for the gingerbread dough:
- 3 cups all-purpose flour
- 3/4 cup brown sugar
- 1/2 cup molasses
- 1/2 cup butter (softened)
- 1 egg
- 1 tsp baking soda
- 1 tbsp ground ginger
- 1 tbsp cinnamon
- 1/2 tsp nutmeg
- 1/2 tsp salt
For royal icing (your edible glue):
- 3 cups powdered sugar
- 2 egg whites or 4 tbsp meringue powder
- 1/2 tsp cream of tartar
Tools you’ll need:
- Rolling pin
- Cookie cutters or a gingerbread house template
- Baking sheet and parchment paper
- Mixer for icing
- Piping bags or zip-top bags
Step 2: Make and Bake the Gingerbread
Now comes the fun (and delicious) part — baking your house’s walls and roof!
- Mix the dough: Cream together butter and sugar, then add molasses and the egg. Gradually add dry ingredients until a soft dough forms.
- Chill it: Wrap the dough in plastic wrap and chill for 30 minutes to make it easier to roll.
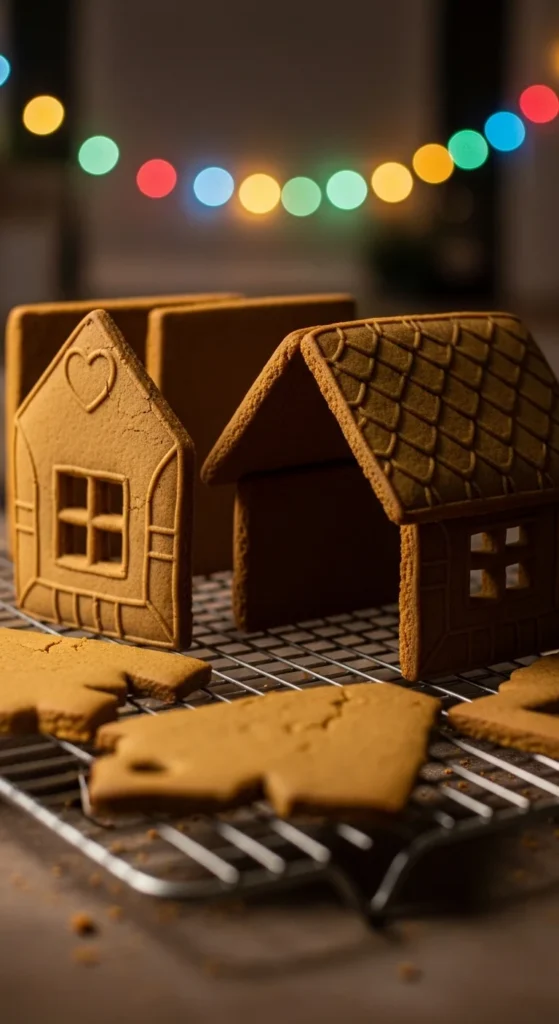
- Roll and cut: Roll the dough out to about 1/4 inch thick. Use templates to cut out walls, roof pieces, and maybe even a door or window cutout.
- Bake: Place pieces on a parchment-lined sheet and bake at 350°F (175°C) for 10–12 minutes. Let them cool completely before assembling.
Pro Tip: Bake extra pieces in case a wall breaks — plus, you’ll get to snack while decorating!
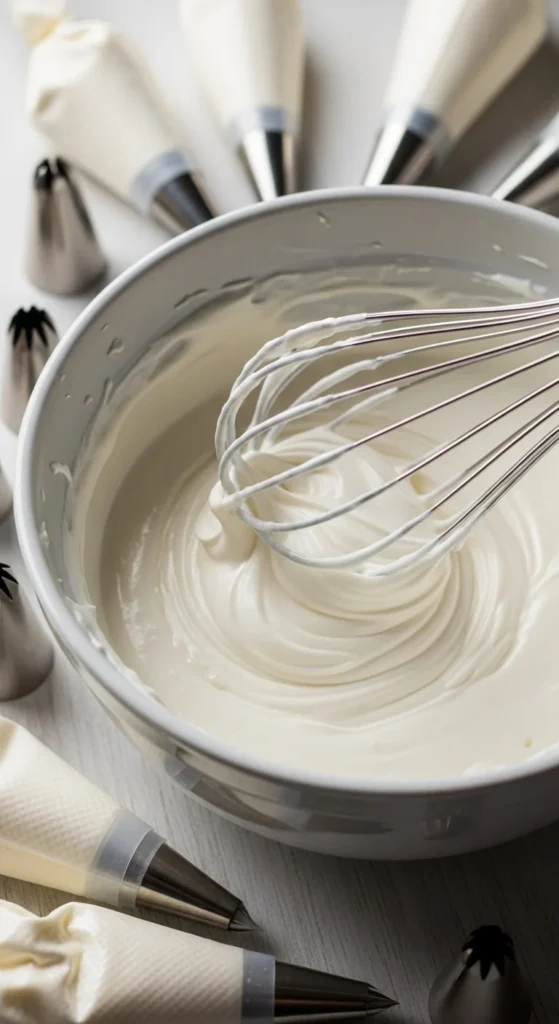
Step 3: Prepare the Royal Icing Glue
This icing is the secret to keeping your house standing tall all season long.
- Mix it right: Beat egg whites or meringue powder with cream of tartar, then slowly add powdered sugar until thick and smooth.
- Adjust consistency: If it’s too thick, add a few drops of water. It should be stiff enough to hold shape but still pipe easily.
- Store smart: Keep the icing covered with a damp towel while you work — it dries quickly!
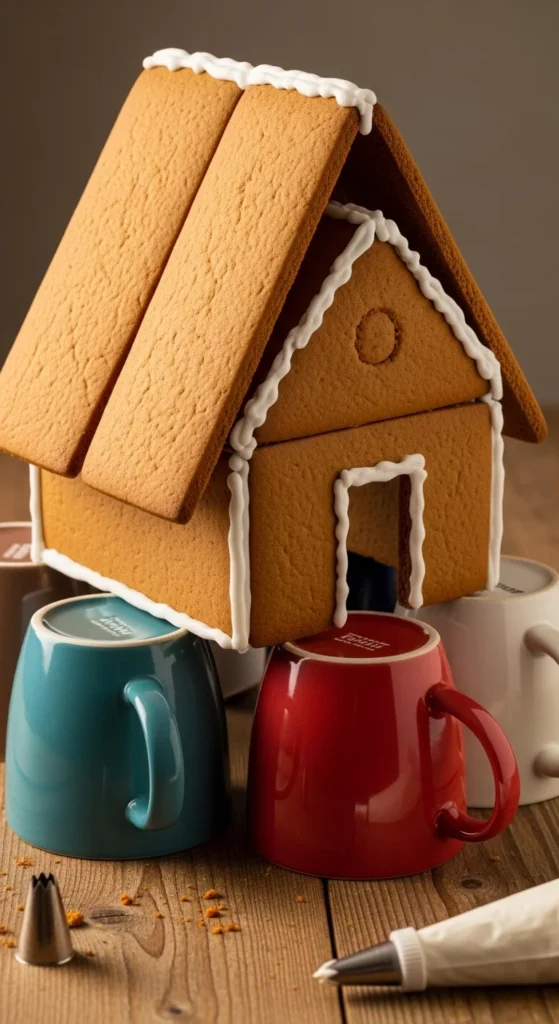
Step 4: Assemble the House
Patience is key here! Take your time and let each section set before moving on.
- Start with the walls: Pipe icing along the edges and press the walls together gently. Use cans or mugs to hold them in place as they dry.
- Add the roof: Once the walls are firm (after about 15–20 minutes), carefully attach the roof panels with more icing.
- Reinforce seams: Pipe extra icing along the joints for strength and that snowy look.
Pro Tip: If you’re working with kids, try using graham crackers or a pre-made kit for an easier version.
Step 5: Decorate Your Dream House
Here’s where creativity shines! Go classic or wild with your decoration ideas — there’s no wrong way to design your gingerbread masterpiece.
Popular decoration ideas:
- Mini candy canes for door frames
- Gumdrops or M&Ms for the roof tiles
- Pretzels for log cabin walls
- Coconut flakes or powdered sugar for snow
- Tiny figurines for a winter scene
Tip: Apply icing in small sections and press candies in right away before it hardens.

Step 6: Display and Enjoy
Once your house is fully dry, move it to a sturdy base like a cake board or a wooden tray. It’ll last for weeks as a festive centerpiece — and you can even nibble on it once the holidays are over!
Extra Ideas:
- Add LED tea lights inside for a cozy glow.
- Create a mini “gingerbread village” with multiple houses.
- Use it as the centerpiece for your Christmas dessert table.

Final Takeaway
Building a gingerbread house is all about fun, family, and festive creativity. Don’t stress about perfection — the sweetest memories come from sticky fingers, crooked roofs, and laughter around the table. So grab your apron, cue the holiday music, and start your own gingerbread tradition today!
🎄 Save this guide for your next baking day — your dream gingerbread house awaits!

Leave a Reply