
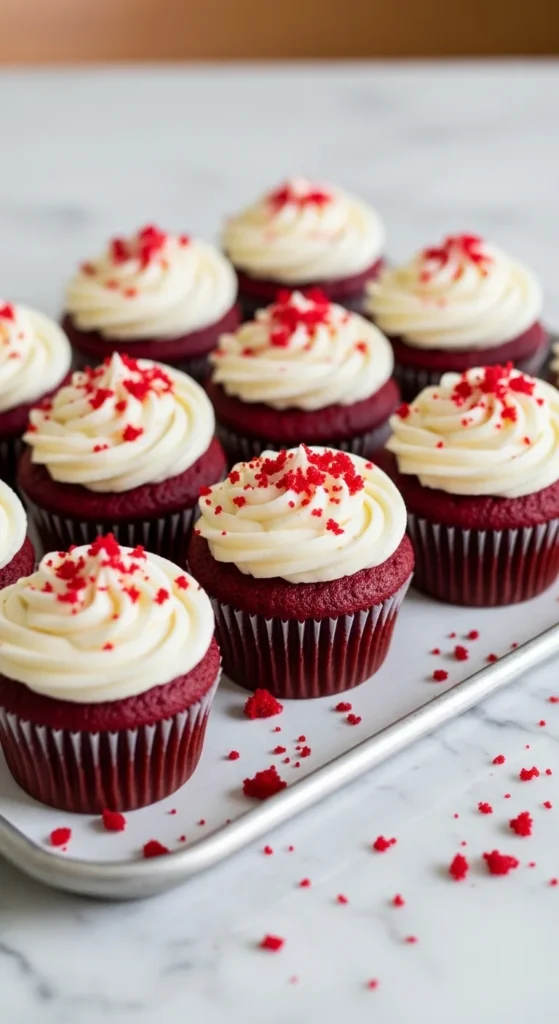
Red velvet cupcakes are the ultimate blend of flavor and flair — a little chocolatey, a little tangy, and oh-so-pretty. Whether you’re baking for Valentine’s Day, a birthday, or just because, these velvety red treats topped with creamy frosting always steal the show. Let’s walk through how to bake the perfect red velvet cupcakes at home — soft, moist, and picture-perfect!
Step 1: Gather Your Ingredients
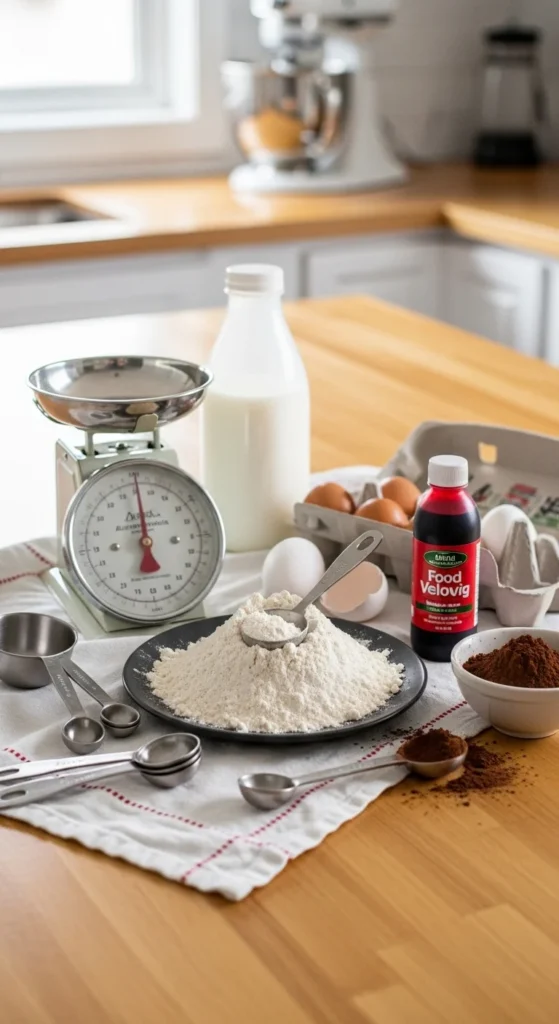
Before you start, make sure you have everything you need. Red velvet cupcakes are famous for their distinct flavor — thanks to cocoa powder, buttermilk, and vinegar.
You’ll need:
- 1 ¼ cups all-purpose flour
- 1 cup granulated sugar
- 1 tbsp unsweetened cocoa powder
- ½ tsp baking soda
- ½ tsp salt
- ¾ cup buttermilk
- ¾ cup vegetable oil
- 2 large eggs
- 1 tsp white vinegar
- 1 tsp vanilla extract
- 1–2 tsp red food coloring (gel works best)
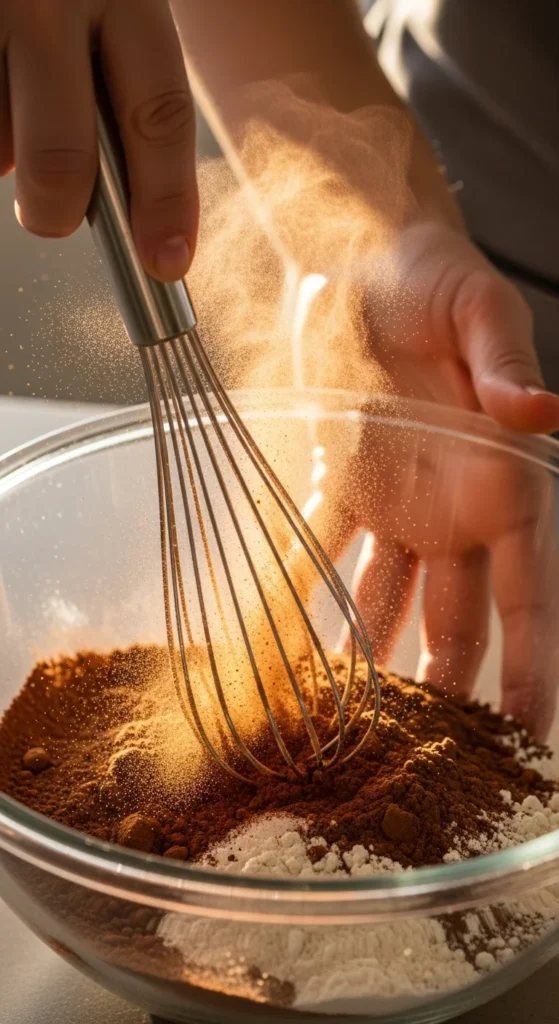
Step 2: Mix the Dry Ingredients
In a medium bowl, whisk together:
- Flour
- Cocoa powder
- Baking soda
- Salt
This ensures an even distribution of cocoa and prevents lumps. Set it aside — it’ll be your base for that tender crumb.
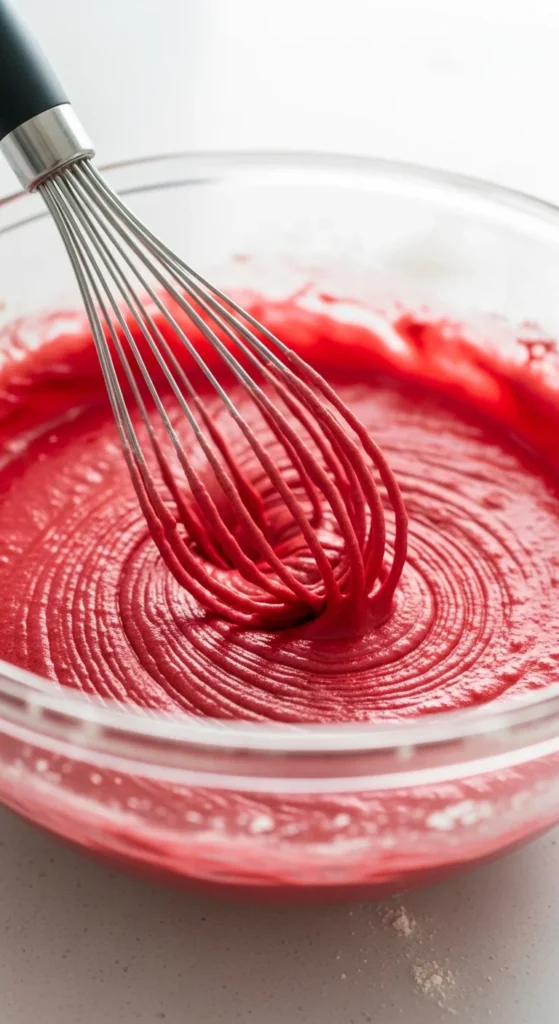
Step 3: Whip Up the Wet Mixture
In a large mixing bowl, combine the buttermilk, oil, eggs, vinegar, and vanilla extract. Mix until smooth. Now comes the magic — add the red food coloring!
Start with 1 teaspoon, and add more if you want a deeper shade. The batter should look rich and vibrant — like red velvet itself.
Tip: Use gel coloring for a bold hue without watering down your batter.
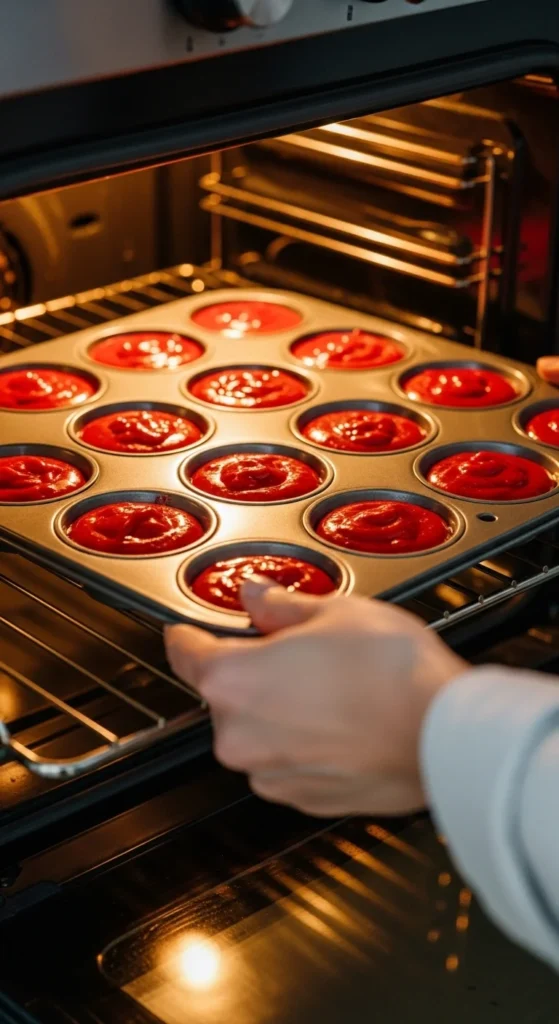
Step 4: Combine and Bake
Slowly mix the dry ingredients into the wet ones. Stir gently until smooth — avoid overmixing, or your cupcakes will lose their fluffiness.
Line a muffin tin with cupcake liners and fill each about ⅔ full.
Bake at 350°F (175°C) for 18–20 minutes, or until a toothpick inserted in the center comes out clean.
Let the cupcakes cool completely on a wire rack before frosting.
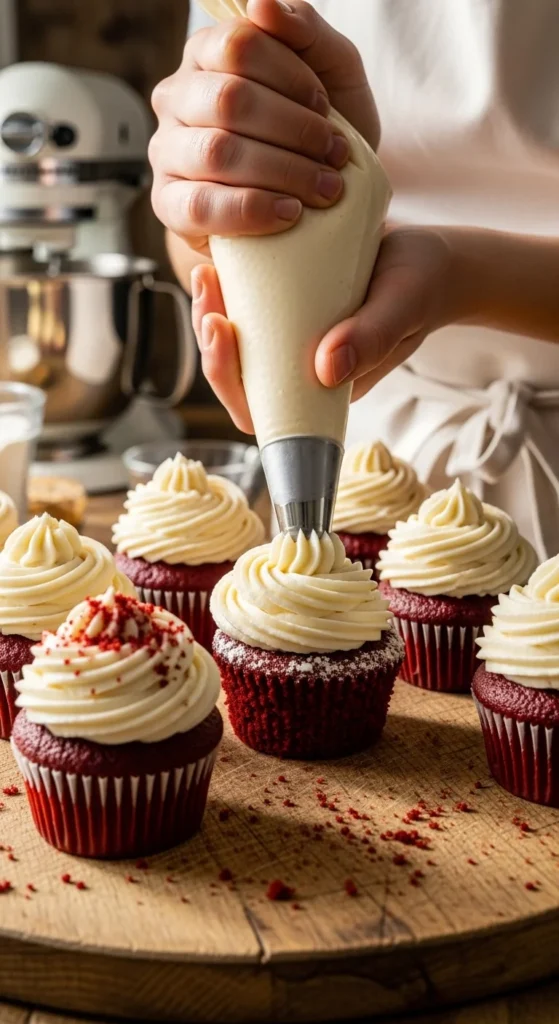
Step 5: Make the Cream Cheese Frosting
What’s a red velvet cupcake without its signature frosting? Smooth, tangy, and creamy — it’s the perfect finishing touch.
You’ll need:
- 8 oz (225g) cream cheese, softened
- ½ cup (115g) butter, softened
- 2–3 cups powdered sugar
- 1 tsp vanilla extract
Directions:
- Beat butter and cream cheese together until fluffy.
- Add powdered sugar gradually.
- Mix in vanilla extract until smooth and creamy.
Pipe or spread the frosting generously over each cooled cupcake. For a pro finish, sprinkle a few red crumbs on top!
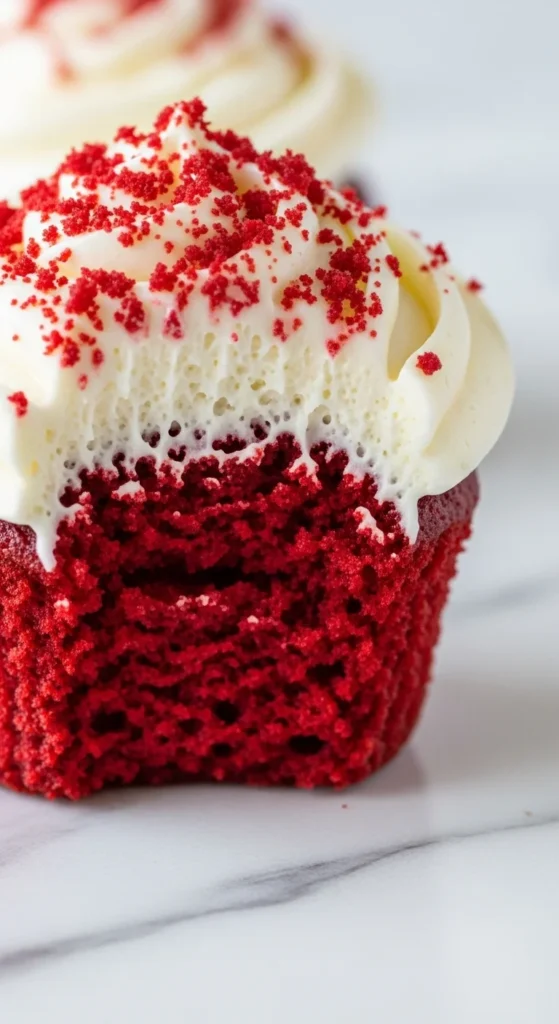
Step 6: Serve and Enjoy
There’s something special about the first bite of a red velvet cupcake — the soft, cocoa-tinted cake and the luscious frosting melt together in harmony.
Serve them at parties, gift them in pretty boxes, or save them for yourself (no judgment here).
Storage tip: Keep cupcakes refrigerated in an airtight container for up to 4 days.
Final Takeaway
Red velvet cupcakes are more than just a dessert — they’re a little piece of joy in every bite. With this simple step-by-step guide, you can make bakery-style cupcakes right from your own kitchen.
💡 Save this recipe for later or share it with your baking buddy — because good cupcakes are meant to be shared!

Leave a Reply