
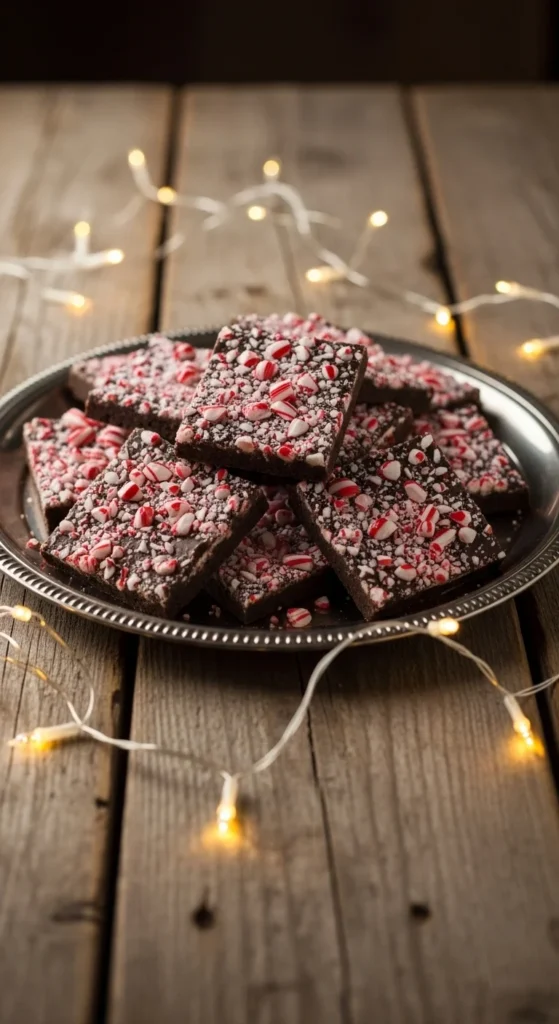
Craving something festive, simple, and delightfully minty? Peppermint bark is the holiday treat that checks every box! With layers of smooth chocolate, creamy white chocolate, and crushed candy canes, it’s both beautiful and delicious—and it only takes minutes to make. Whether you’re gifting it in pretty boxes or serving it at a party, this recipe guarantees a burst of holiday cheer in every bite.
🎄 What You’ll Need
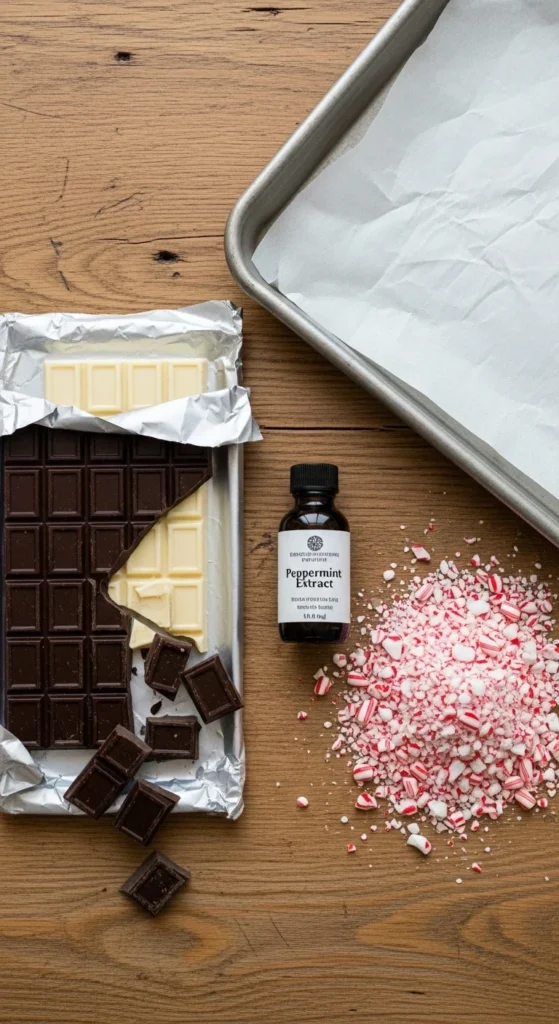
Before you start, gather your ingredients and tools. You don’t need anything fancy—just simple pantry staples that come together beautifully.
Ingredients
- 12 ounces dark or semi-sweet chocolate (good quality bars or chips)
- 12 ounces white chocolate
- ½ teaspoon peppermint extract
- 5–6 peppermint candy canes, crushed
- Parchment paper
Tools
- Baking sheet
- Heatproof bowls
- Spatula
- Knife (for cutting into pieces later)
🍫 Step 1: Melt the Chocolate
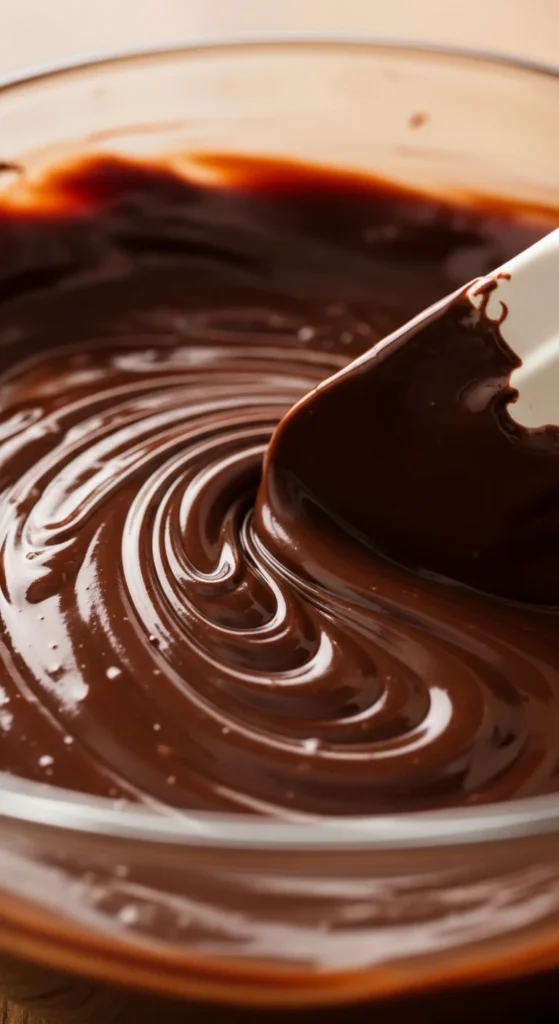
The secret to smooth, glossy bark lies in gently melting your chocolate. You can do this using a double boiler or the microwave—just go slow and stir often.
How to melt perfectly:
- Chop your dark chocolate and place it in a heatproof bowl.
- Heat over simmering water (or microwave in 20-second bursts).
- Stir until melted and silky.
Once melted, add ¼ teaspoon peppermint extract and stir well.
🍬 Step 2: Create the First Layer
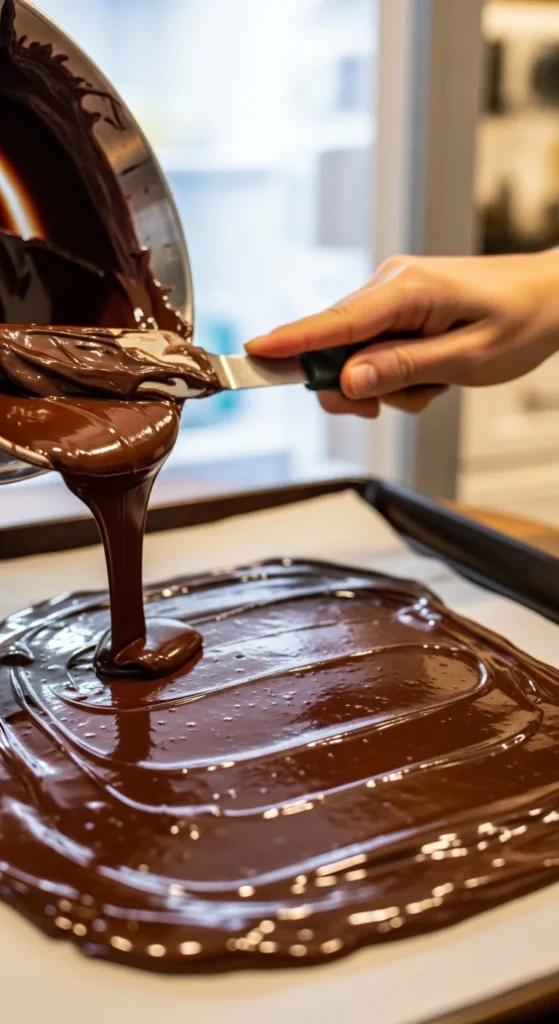
Pour the melted dark chocolate onto a parchment-lined baking sheet. Use a spatula to spread it evenly into a rectangle about ¼ inch thick.
- Tap the tray lightly to smooth out any air bubbles.
- Place it in the fridge for about 15 minutes until it’s set but not rock-hard.
This base layer provides the perfect contrast for the creamy white chocolate to come.
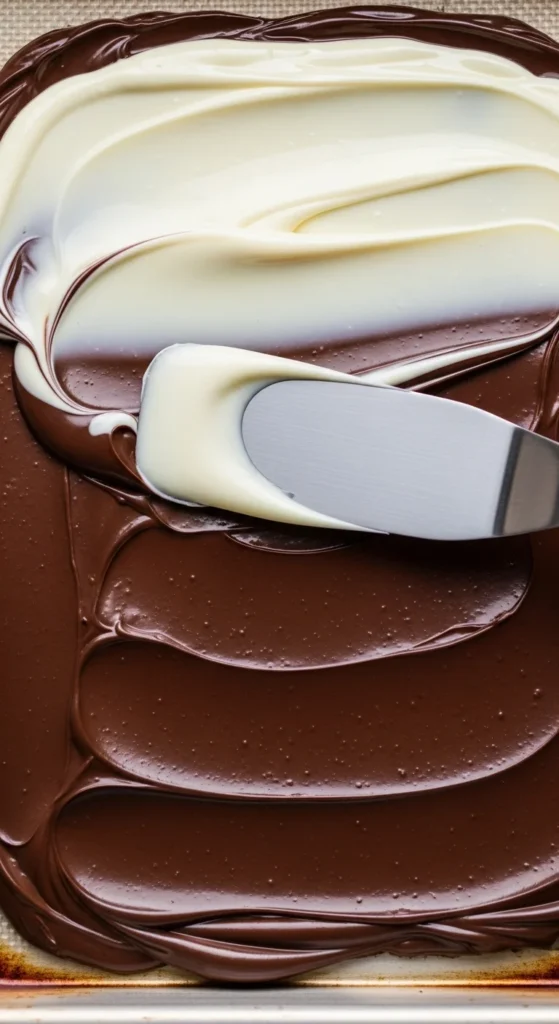
❄️ Step 3: Add the White Chocolate Layer
While the first layer chills, melt your white chocolate using the same gentle method. Avoid overheating—it can seize easily! Once smooth, add the remaining ¼ teaspoon peppermint extract.
Pour the white chocolate over the firm dark layer and spread it out evenly with a spatula.
Tip: Don’t wait too long between layers or they might separate when you break the bark later.
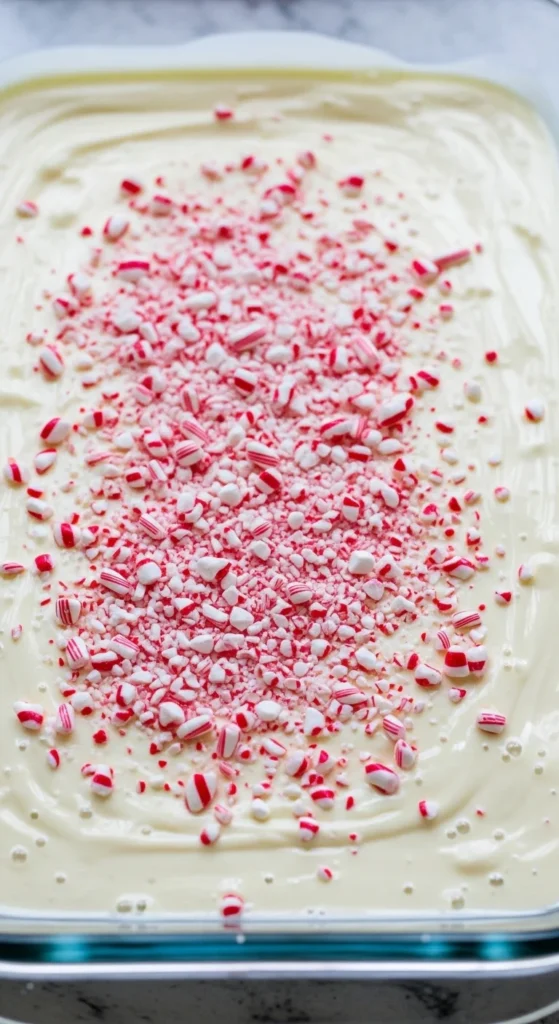
❤️ Step 4: Top with Candy Canes
Now for the fun part—decorating! Sprinkle your crushed candy canes over the warm white chocolate layer. You can press them gently so they stick.
Optional: For extra sparkle, add festive toppings like edible glitter, mini marshmallows, or red-and-green sprinkles.
Place the tray in the fridge again for 30–40 minutes, or until completely set.
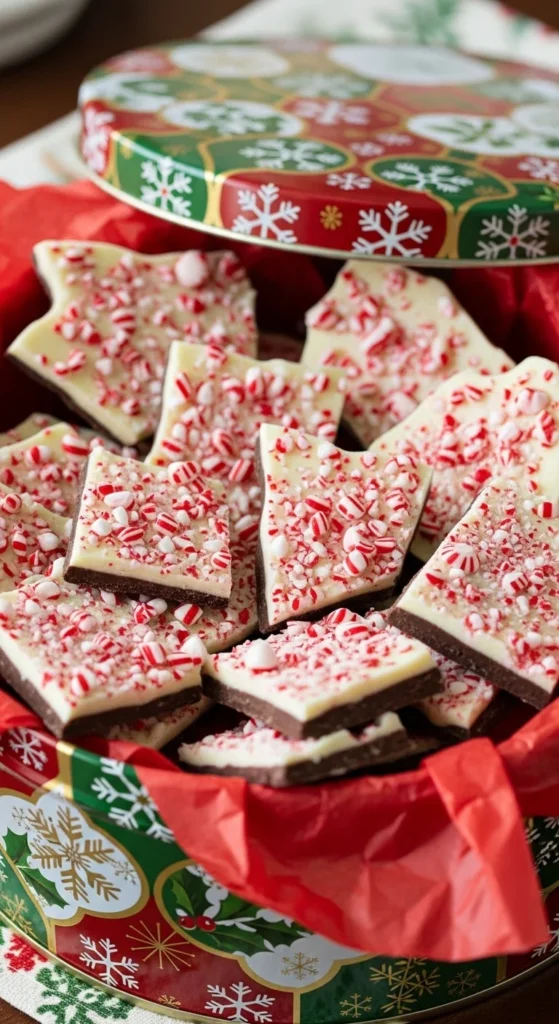
🔪 Step 5: Break and Serve
Once the bark is firm, remove it from the fridge and peel off the parchment paper. Use a sharp knife (or your hands) to break it into rustic pieces.
Store your peppermint bark in an airtight container at room temperature for up to two weeks—or in the fridge if you prefer it cold and crisp.
✨ Tips for Perfect Peppermint Bark
- Use high-quality chocolate. Cheap chocolate can taste waxy and won’t melt smoothly.
- Avoid moisture. Keep your tools and bowls completely dry to prevent seizing.
- Add toppings fast. The white chocolate sets quickly, so sprinkle right after spreading.
- Experiment! Try swirls, drizzle dark chocolate over the top, or mix in nuts for texture.
🎁 Final Thoughts
Peppermint bark isn’t just a dessert—it’s a little slice of holiday joy. Simple to make, stunning to gift, and impossible to resist, it’s the perfect recipe to share with friends and family.
So grab your chocolate, crush some candy canes, and create your own batch of festive sweetness today.
Save this recipe for later and add a sprinkle of minty magic to your holidays!

Leave a Reply