
Nothing says holiday magic quite like the warm, buttery aroma of freshly baked Christmas cookies filling your kitchen. Whether you’re baking for family gatherings, cookie swaps, or festive gifts, the joy of decorating colorful, sweet treats brings everyone together.
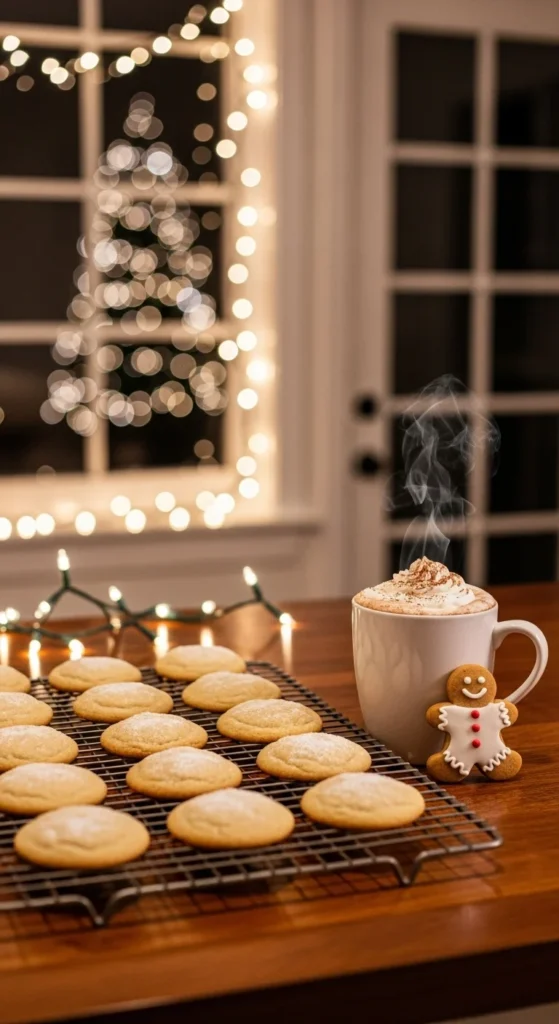
In this guide, you’ll learn how to bake perfect Christmas cookies — from choosing the right ingredients to decorating like a pro. Let’s turn your kitchen into a winter wonderland of sweetness!
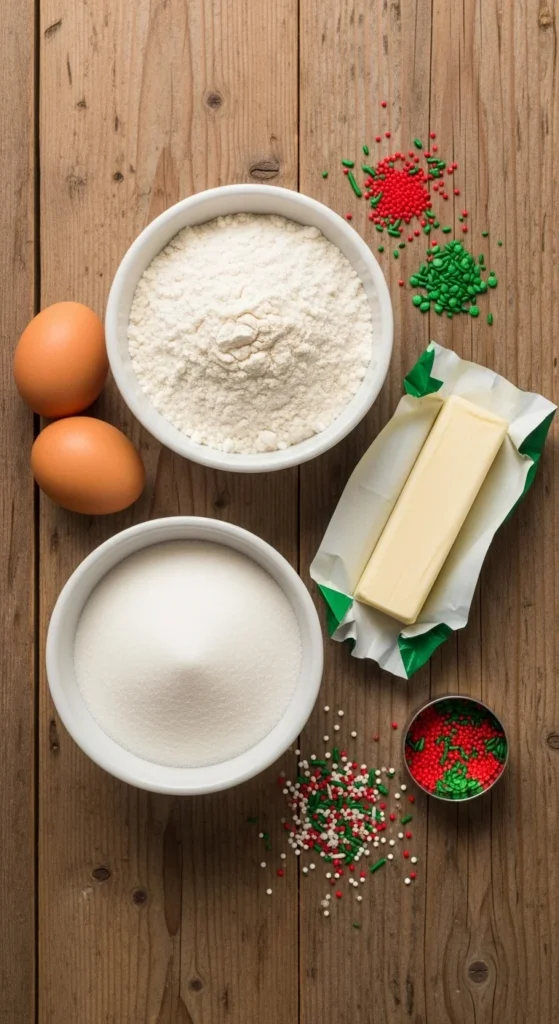
🎄 Step 1: Gather Your Ingredients
Before diving in, get everything ready on your counter. Organization makes baking smoother and more fun!
Here’s what you’ll need for a classic batch of Christmas sugar cookies:
- 2¾ cups all-purpose flour
- 1 teaspoon baking soda
- ½ teaspoon baking powder
- ½ teaspoon salt
- 1 cup unsalted butter (softened)
- 1½ cups granulated sugar
- 1 large egg
- 1 teaspoon vanilla extract
- ½ teaspoon almond extract (optional for that holiday scent)
Pro Tip: Always measure ingredients accurately. Too much flour can make cookies dry, while too little butter can ruin that soft texture.
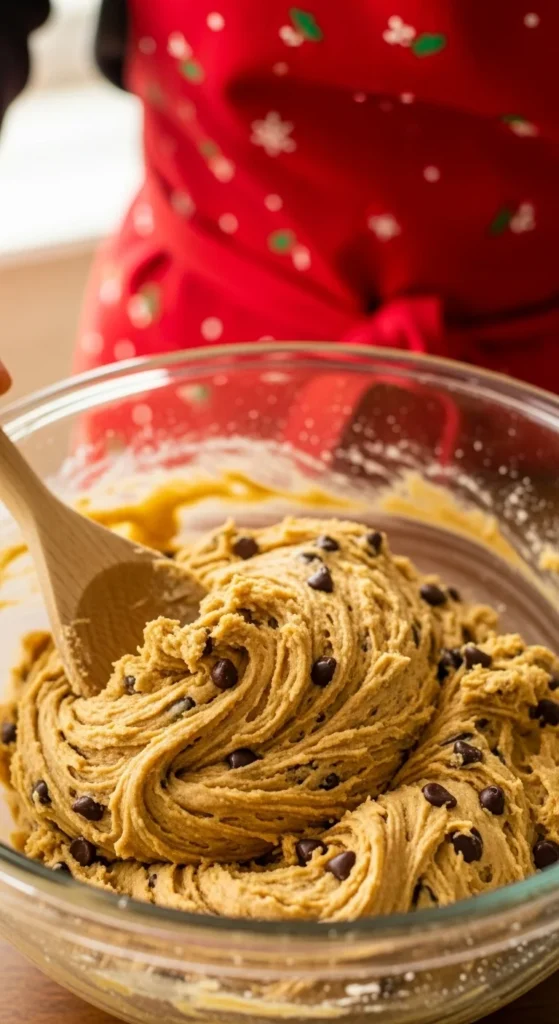
🍪 Step 2: Make the Cookie Dough
Once you’ve gathered your ingredients, it’s time to bring the magic to life.
Here’s how:
- Cream the butter and sugar — Beat them together until light and fluffy. This step traps air and creates that melt-in-your-mouth texture.
- Add the egg and extracts — Mix until smooth and creamy.
- Whisk dry ingredients separately — Combine flour, baking soda, baking powder, and salt.
- Gradually add dry ingredients to the wet mixture until a soft dough forms.
Chill the dough for 30–60 minutes. This step keeps cookies from spreading too much while baking.
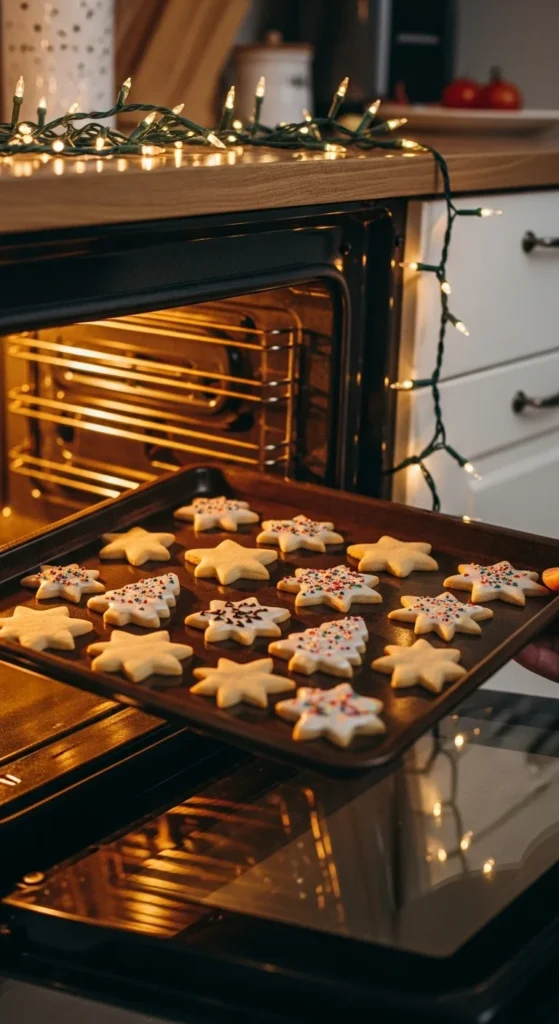
⭐ Step 3: Roll, Cut, and Bake
This is where the fun begins!
- Lightly flour your surface and roll out the chilled dough to about ¼ inch thick.
- Use cookie cutters — stars, snowflakes, trees, or gingerbread men — to shape your cookies.
- Place them on a parchment-lined baking sheet.
- Bake at 350°F (175°C) for 8–10 minutes or until the edges are slightly golden.
Tip: Rotate the baking sheet halfway through to ensure even baking.
✨ Step 4: Cool and Decorate
Once baked, let the cookies cool completely before decorating — otherwise, the icing will melt right off!
For classic royal icing:
- 2 cups powdered sugar
- 2–3 tablespoons milk
- 1 teaspoon vanilla extract
- A few drops of food coloring (red, green, white, or gold for festive flair)
Whisk until smooth. Add more milk for a thinner consistency or more sugar for thicker icing.
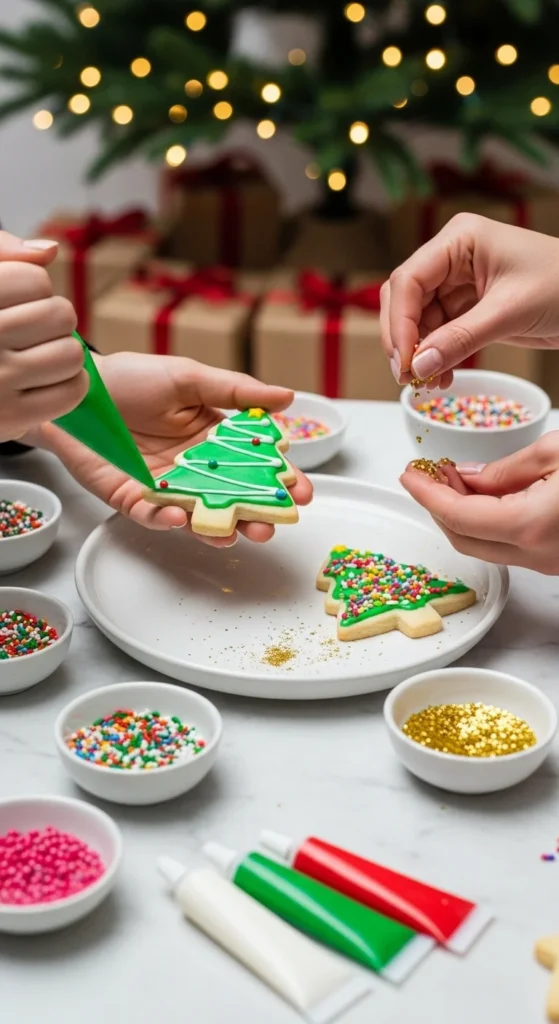
Now comes the creative part — decorate with:
- Piping bags for detailed designs
- Sprinkles for texture
- Colored sugar for sparkle
- Edible pearls or glitter for extra holiday shine
🎁 Step 5: Store and Share the Joy
After decorating, let your cookies dry completely. Then, store them in an airtight container for up to a week — though they rarely last that long!
Gifting Ideas:
- Wrap them in clear cellophane bags with red ribbons.
- Pack in holiday tins lined with parchment paper.
- Add a personalized gift tag with a sweet message.
Whether you’re gifting neighbors, coworkers, or loved ones, homemade cookies are a heartfelt way to spread Christmas cheer.

❤️ Final Thoughts
Baking Christmas cookies is more than just a holiday tradition — it’s a moment of joy, creativity, and togetherness. From the scent of vanilla wafting through the kitchen to the laughter shared over decorating, these sweet treats bring people closer in the most magical way.
So, grab your apron, play your favorite carols, and bake a batch of happiness this Christmas.
🎅 Save this recipe for later — your future holiday self will thank you!

Leave a Reply