
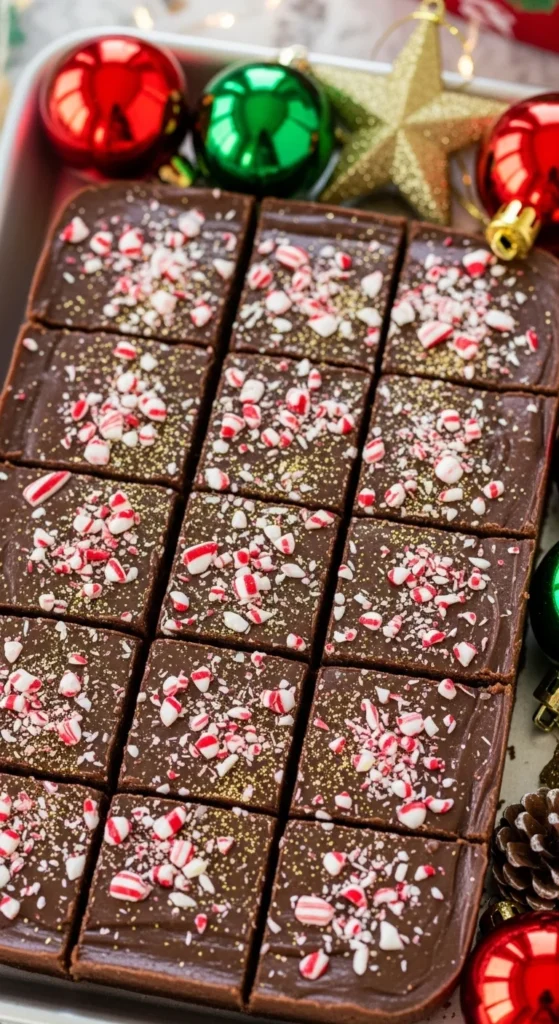
When the holidays roll around, there’s nothing quite like the smell of chocolate filling the kitchen. Festive fudge is one of those classic treats that instantly brings cheer — rich, creamy, and oh-so-decadent! Whether you’re gifting it to friends or serving it at a cozy family gathering, this fudge recipe will make your holiday season sweeter than ever.
Gather Your Ingredients
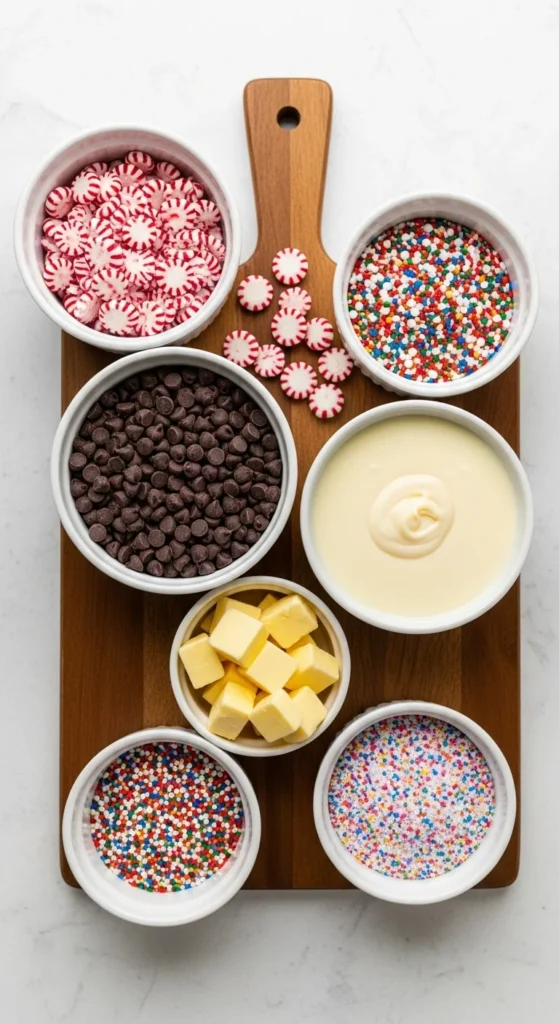
Before diving into the magic, let’s make sure you’ve got everything you need. The best part? You only need a handful of simple ingredients — most of which you probably already have!
You’ll need:
- 3 cups semisweet chocolate chips
- 1 (14 oz) can sweetened condensed milk
- 1/4 cup unsalted butter
- 1 tsp vanilla extract
- A pinch of salt
- Optional festive add-ins: crushed peppermint candies, mini marshmallows, chopped nuts, or holiday sprinkles
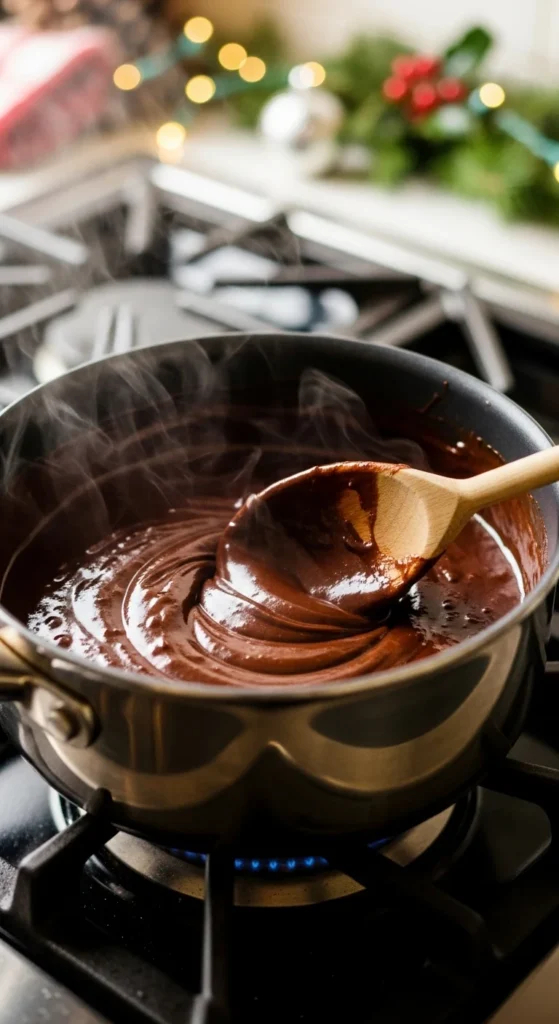
Step 1: Melt and Mix
Start by preparing your base — the gooey, chocolatey heart of your fudge!
- Line an 8×8-inch baking pan with parchment paper, leaving some overhang for easy removal later.
- In a medium saucepan, combine chocolate chips, condensed milk, and butter.
- Heat over medium-low heat, stirring constantly until everything melts together into a smooth, shiny mixture.
- Once melted, remove from heat and stir in vanilla extract and salt.
Tip: Don’t rush the melting process! Keep your heat low and stir frequently to prevent burning.
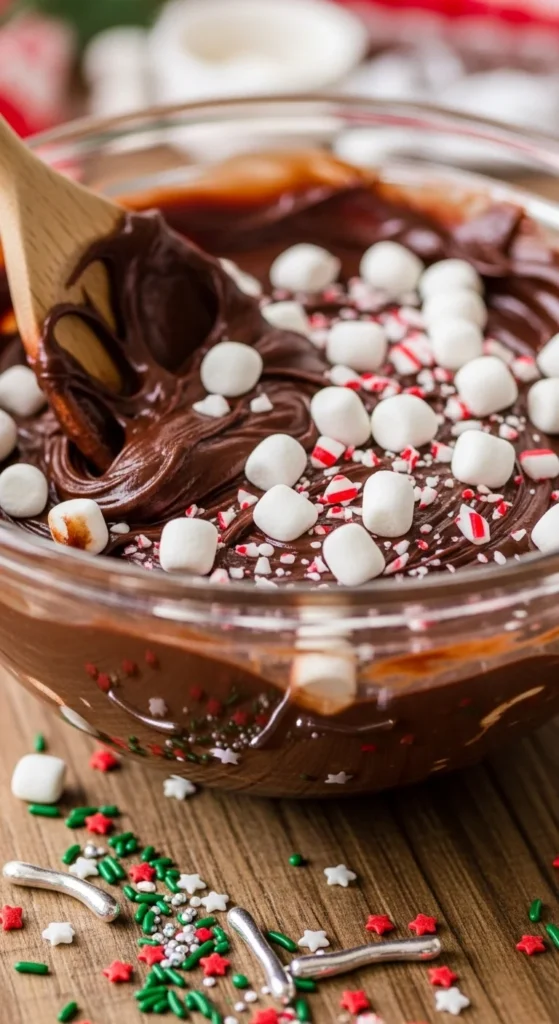
Step 2: Add Your Festive Flair
Here’s where the fun begins — customization!
After your fudge base is smooth and silky, stir in your favorite holiday add-ins. You can mix and match for different flavors:
- Peppermint Crunch: Crushed candy canes for a minty twist.
- Rocky Road: Mini marshmallows and chopped nuts.
- Snowy Sprinkle: White chocolate chips and red-green sprinkles.
Fold in your mix-ins gently to keep that glossy texture intact.
Step 3: Pour, Smooth, and Chill
- Pour the fudge mixture into your prepared pan.
- Use a spatula to smooth the top evenly.
- Add a final sprinkle of festive toppings if you like — crushed peppermint or edible glitter works beautifully.
- Chill in the refrigerator for at least 2 hours, or until firm.
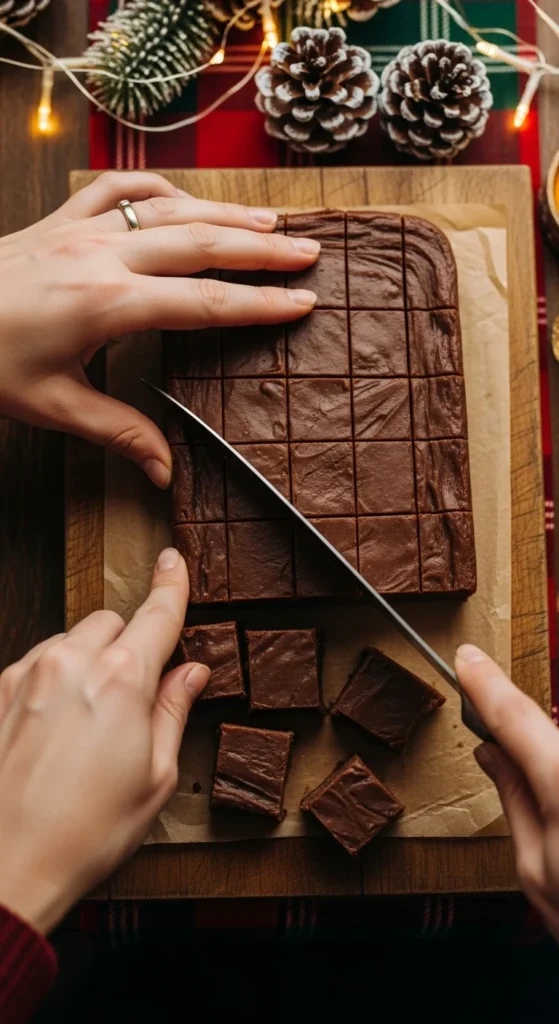
When it’s set, lift it out using the parchment paper and cut it into bite-sized squares.
Pro Tip: Wipe your knife with a warm, damp cloth between cuts for clean, sharp edges.
Step 4: Serve and Share
Now comes the best part — enjoying your creation! Arrange your fudge on a holiday platter or wrap it up as a heartfelt homemade gift.
- Store it in an airtight container at room temperature for up to 1 week.
- Or refrigerate for a firmer texture and longer shelf life.
You can even make a few variations and create a “Fudge Sampler Box” for gifting — think chocolate peppermint, white chocolate cranberry, and peanut butter swirl!

Final Thoughts
Making festive fudge is simple, fun, and totally customizable — perfect for getting into the holiday spirit! Each bite tastes like Christmas joy wrapped in chocolate.
So, grab your saucepan, melt some magic, and create a treat that everyone will remember.
✨ Save this recipe for later and share it with a friend who loves holiday sweets! ✨

Leave a Reply