
There’s something truly heartwarming about gifting cookies — that sweet, homemade touch wrapped up in love. Whether it’s for the holidays, birthdays, or a cozy thank-you surprise, a cookie gift box is a thoughtful way to make anyone smile. But how do you make one that looks beautiful and tastes amazing? Let’s walk through the simple steps to create a Pinterest-perfect cookie gift box that feels as special as it tastes.
Step 1: Choose Your Cookie Theme
Before baking or boxing, decide on the theme or vibe you want your cookie box to have. This helps you pick flavors, colors, and packaging that all work together.
Here are a few popular ideas:
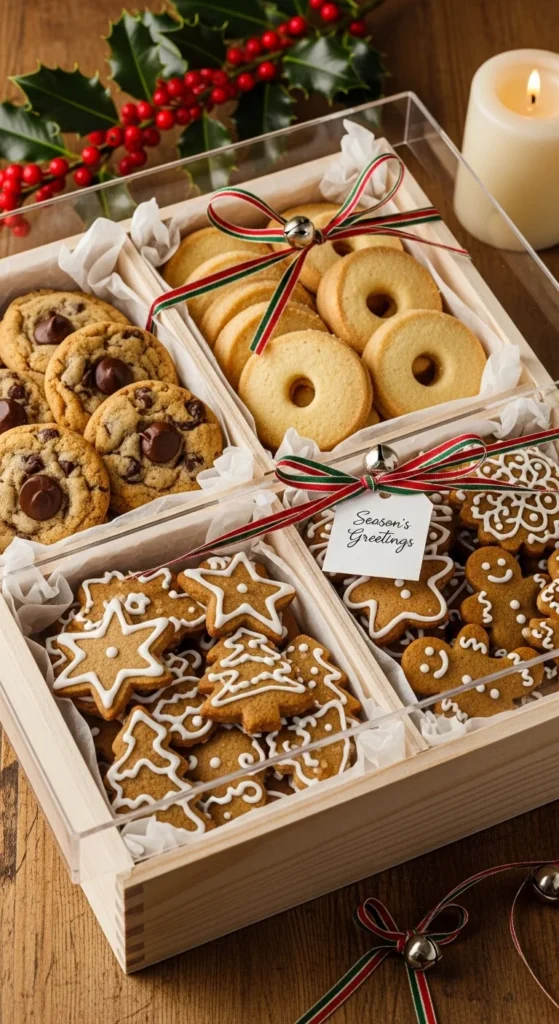
- Classic Christmas Box: Sugar cookies, gingerbread men, and peppermint bark.
- Chocolate Lovers’ Dream: Double chocolate chip, brownies, and chocolate-dipped biscotti.
- Cozy Comfort: Oatmeal raisin, snickerdoodles, and butter shortbread.
- Elegant Tea Party: Lavender shortbread, lemon meltaways, and almond crescents.
💡 Tip: Stick to 3–5 different types of cookies for variety without overwhelming the box.
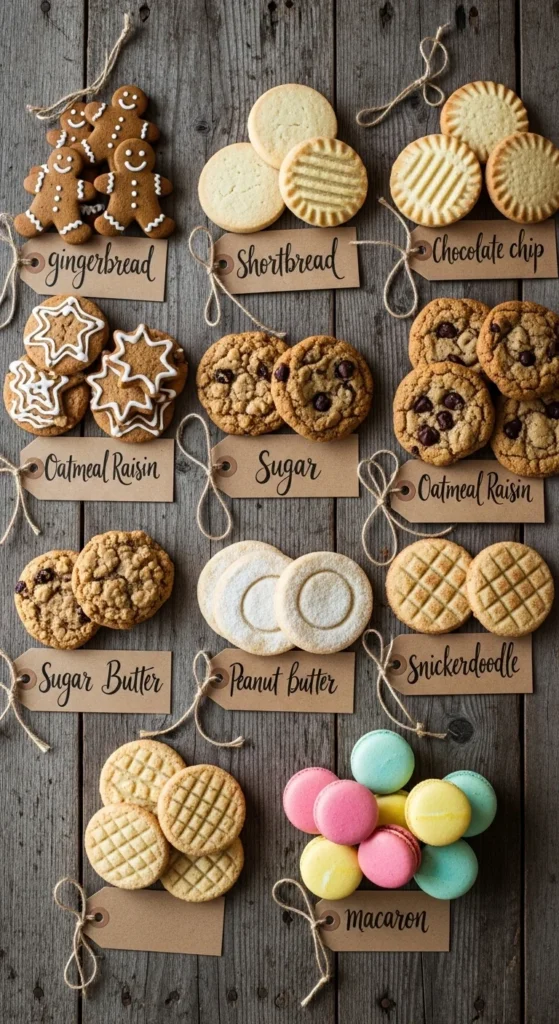
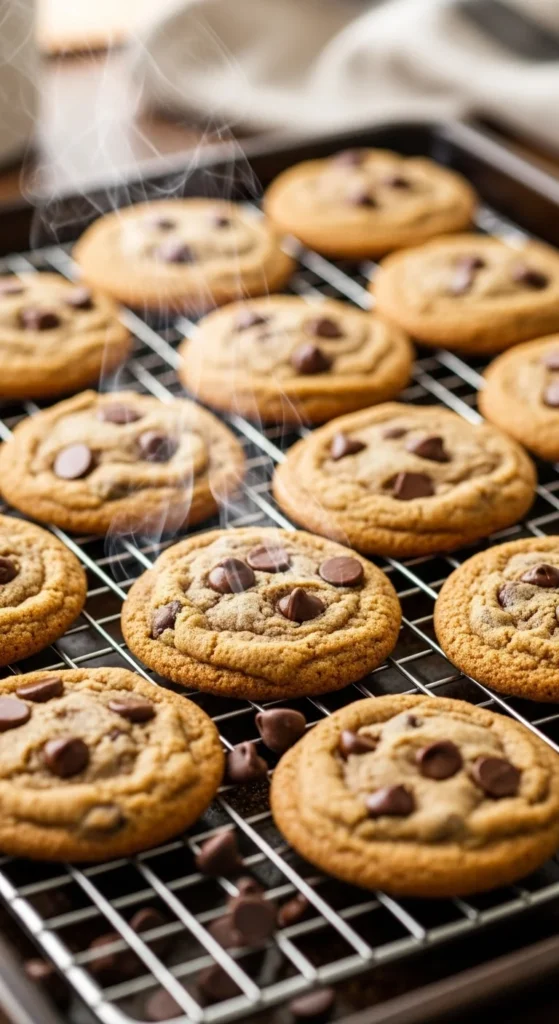
Step 2: Bake Cookies That Travel Well
Not every cookie is a great traveler! Choose cookies that stay fresh and don’t crumble easily.
Best travel-friendly cookies:
- Biscotti
- Shortbread
- Sugar cookies (iced once cooled)
- Chocolate chip
- Oatmeal cookies
Avoid gooey or frosted cookies unless you’re hand-delivering the box within a day.
Pro tip: Let cookies cool completely before packing. Warm cookies create moisture that leads to sogginess.
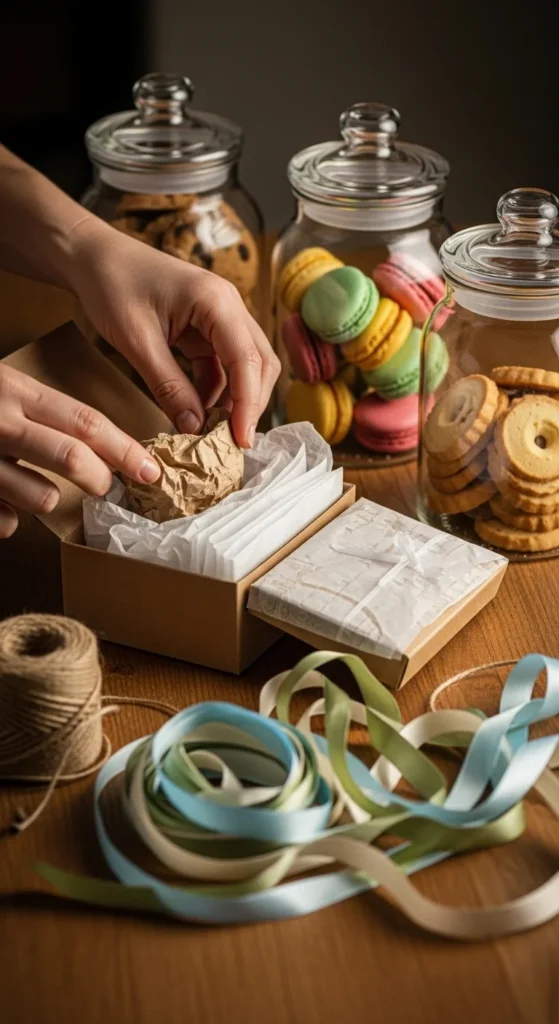
Step 3: Select Your Box and Liners
Now it’s time to make it look Pinterest-worthy. You can find gift boxes at craft stores, online, or even repurpose a sturdy shoebox with some creative wrapping paper.
What you’ll need:
- A sturdy cardboard or tin box
- Parchment paper or cupcake liners
- Tissue paper or shredded filler for cushioning
- Ribbon or twine for decoration
Line the bottom of your box with parchment or tissue paper. This not only looks pretty but also keeps cookies from sliding around.
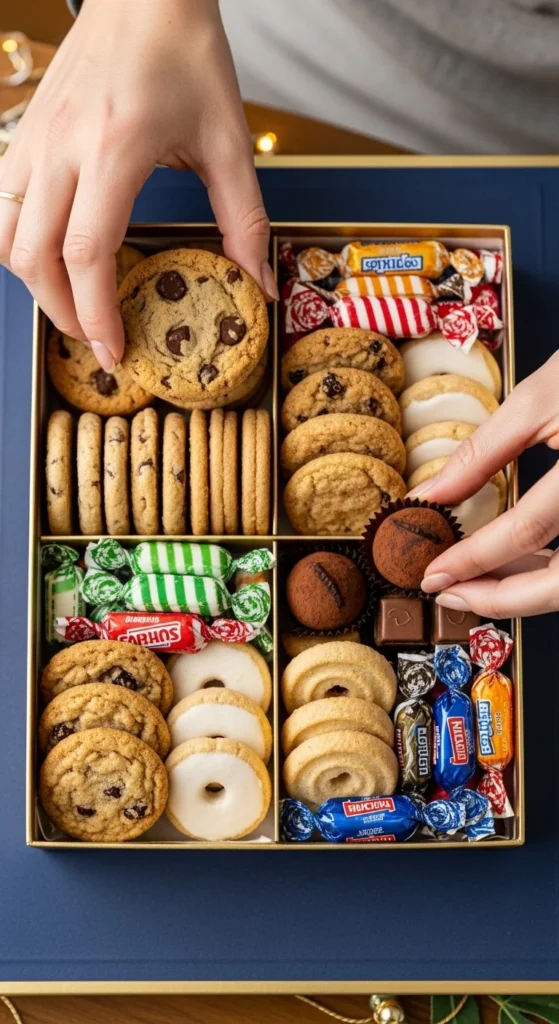
Step 4: Arrange the Cookies Like a Pro
Presentation is everything! Arrange your cookies by type and size so the box looks balanced and inviting.
Here’s how to do it:
- Group by type: Place similar cookies together in clusters.
- Stack smart: Larger cookies at the bottom, smaller ones on top.
- Add texture: Alternate between smooth and crumbly cookies for visual contrast.
- Use dividers: Use cupcake liners, parchment folds, or mini boxes to separate flavors.
Optional: Add small extras like chocolate truffles, candy canes, or even a tiny holiday ornament.
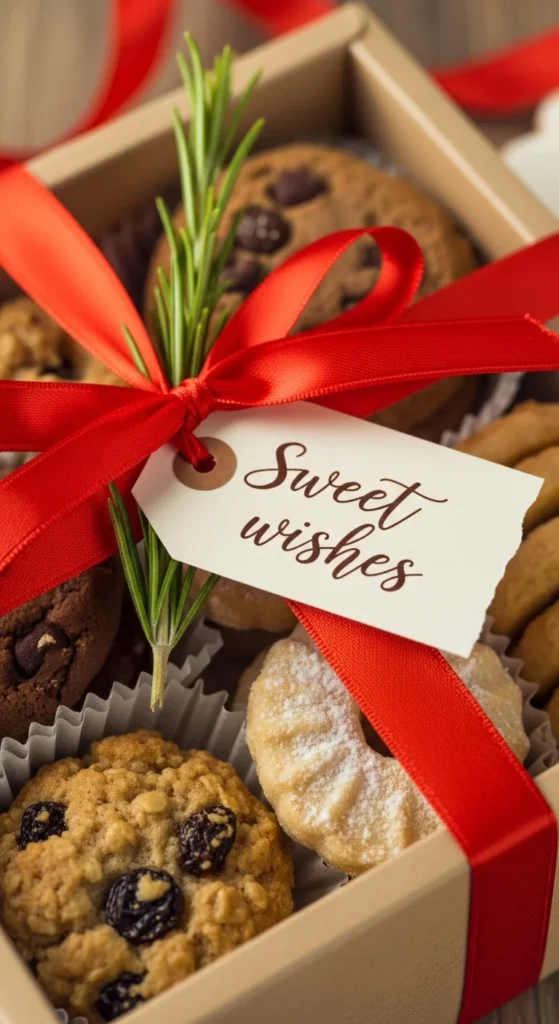
Step 5: Seal and Decorate
Once everything’s neatly packed, it’s time for the finishing touches.
Ideas to personalize your gift box:
- Wrap the box with festive ribbon or baker’s twine.
- Add a handwritten gift tag or recipe card.
- Slip in a sprig of rosemary, pine, or cinnamon stick for a natural scent.
You can even include a little note like “Baked with love just for you!” for an extra cozy touch.
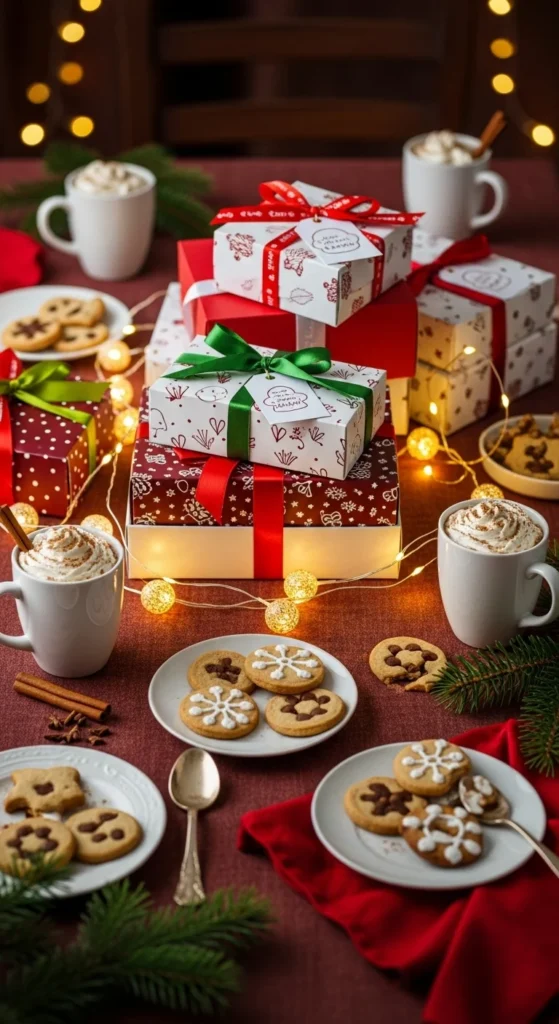
Step 6: Store or Deliver with Care
If you’re not giving the box immediately, store it in a cool, dry place for up to 5 days. For longer freshness, freeze cookies separately and assemble the box just before gifting.
Transport tip: Place the box in a flat position inside a sturdy bag or basket to avoid breakage.
Final Touch: Add Your Personal Spark
The best cookie gift boxes are the ones that show your personality. Maybe it’s a unique cookie recipe, your favorite color theme, or a cozy handwritten message — those personal touches make all the difference.
So grab your apron, preheat the oven, and start crafting your own edible masterpiece! 🍪
✨ Save this idea for your next celebration or holiday season!

Leave a Reply